The Tripo 3D H3.1 upgrade is best understood as an upgraded HD model direction focused on more detailed AI-generated 3D assets. For creators, 3D beginners, game developers, product designers, e-commerce teams, and AI asset makers, the practical question is not only whether H3.1 looks more detailed. The real question is whether it improves your image-to-3D or text-to-3D workflow enough to reduce cleanup later.
This guide explains what to test, how to use See3D Art as a simpler browser-based workflow, and how to judge whether a more detailed AI 3D model is actually useful for your project. More detail can help a preview asset look better, but it does not automatically mean game-ready topology, clean UVs, rigging readiness, 3D-printable geometry, or production-safe exports.

What Tripo 3D H3.1 Changes for AI 3D Model Generation
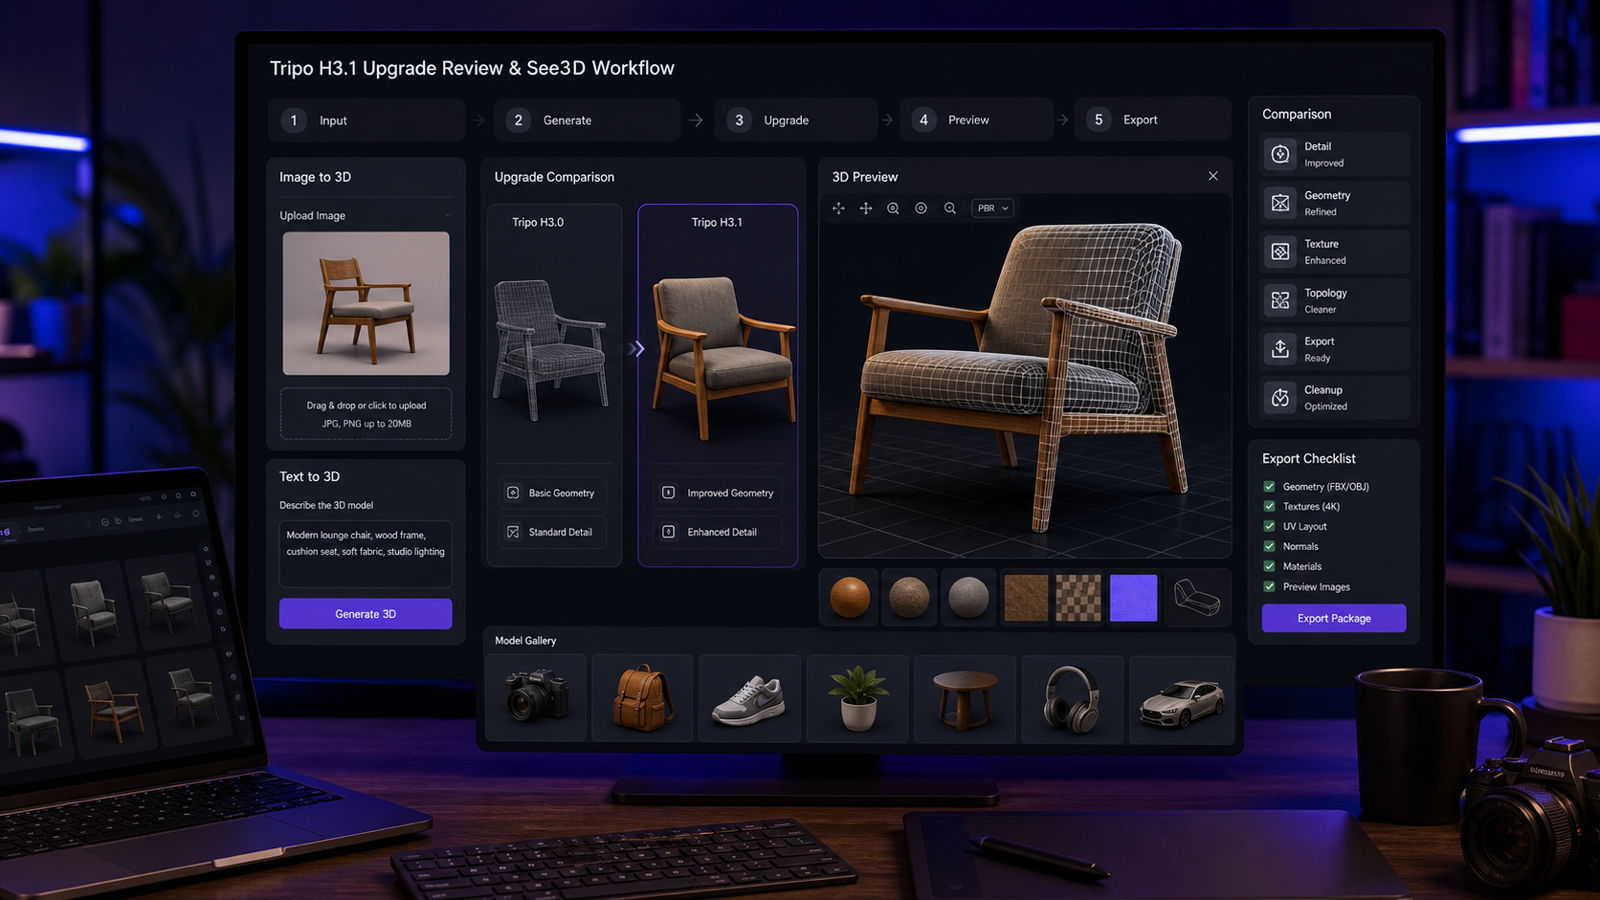
Tripo 3D H3.1 should be evaluated as a detail-focused upgrade path. In practical terms, users should look for better surface detail, cleaner object readability, stronger prompt following, and more convincing material texture compared with simpler or older AI 3D outputs.
That does not make every output production-ready. An asset can look impressive in a web preview while still needing topology cleanup, UV inspection, texture map review, scale fixes, or manual correction in Blender, Unity, Unreal Engine, a CAD-like workflow, or a 3D printing toolchain.
Use a Tripo H3.1 AI 3D model guide mindset: judge the model by what the asset needs to do next. A game prop, e-commerce turntable, AR preview, 3D printing draft, and concept model all have different standards.

What to Test Before Calling H3.1 an Upgrade
The most useful Tripo 3D H3.1 review is a test checklist, not a reaction to a single polished render. Run the same source image or prompt through your current workflow and the upgraded workflow, then inspect the model like a 3D asset maker.
Check these areas:
- Geometry density: Is the mesh too heavy for your use case, or detailed in the right places?
- Surface detail: Are seams, grooves, edges, and sculpted areas readable without becoming noisy?
- Prompt following: Does the model keep the requested object, style, proportions, and key parts?
- Texture quality: Are colors, roughness, patterns, and materials plausible, or smeared and inconsistent?
- Silhouette accuracy: Does the model read correctly from front, side, and three-quarter views?
- Back-side reconstruction: Does the unseen side make sense, or does it collapse into guessed geometry?
- Export usability: Does the downloaded file open cleanly in your target software?
- Cleanup needs: How much retopology, UV repair, texture editing, scale adjustment, or decimation is required?
This is where "more detail" can become a trade-off. A denser model may look better in a preview but be harder to animate, rig, print, or optimize for real-time use.

See3D Art Image-to-3D Workflow for Simpler Testing
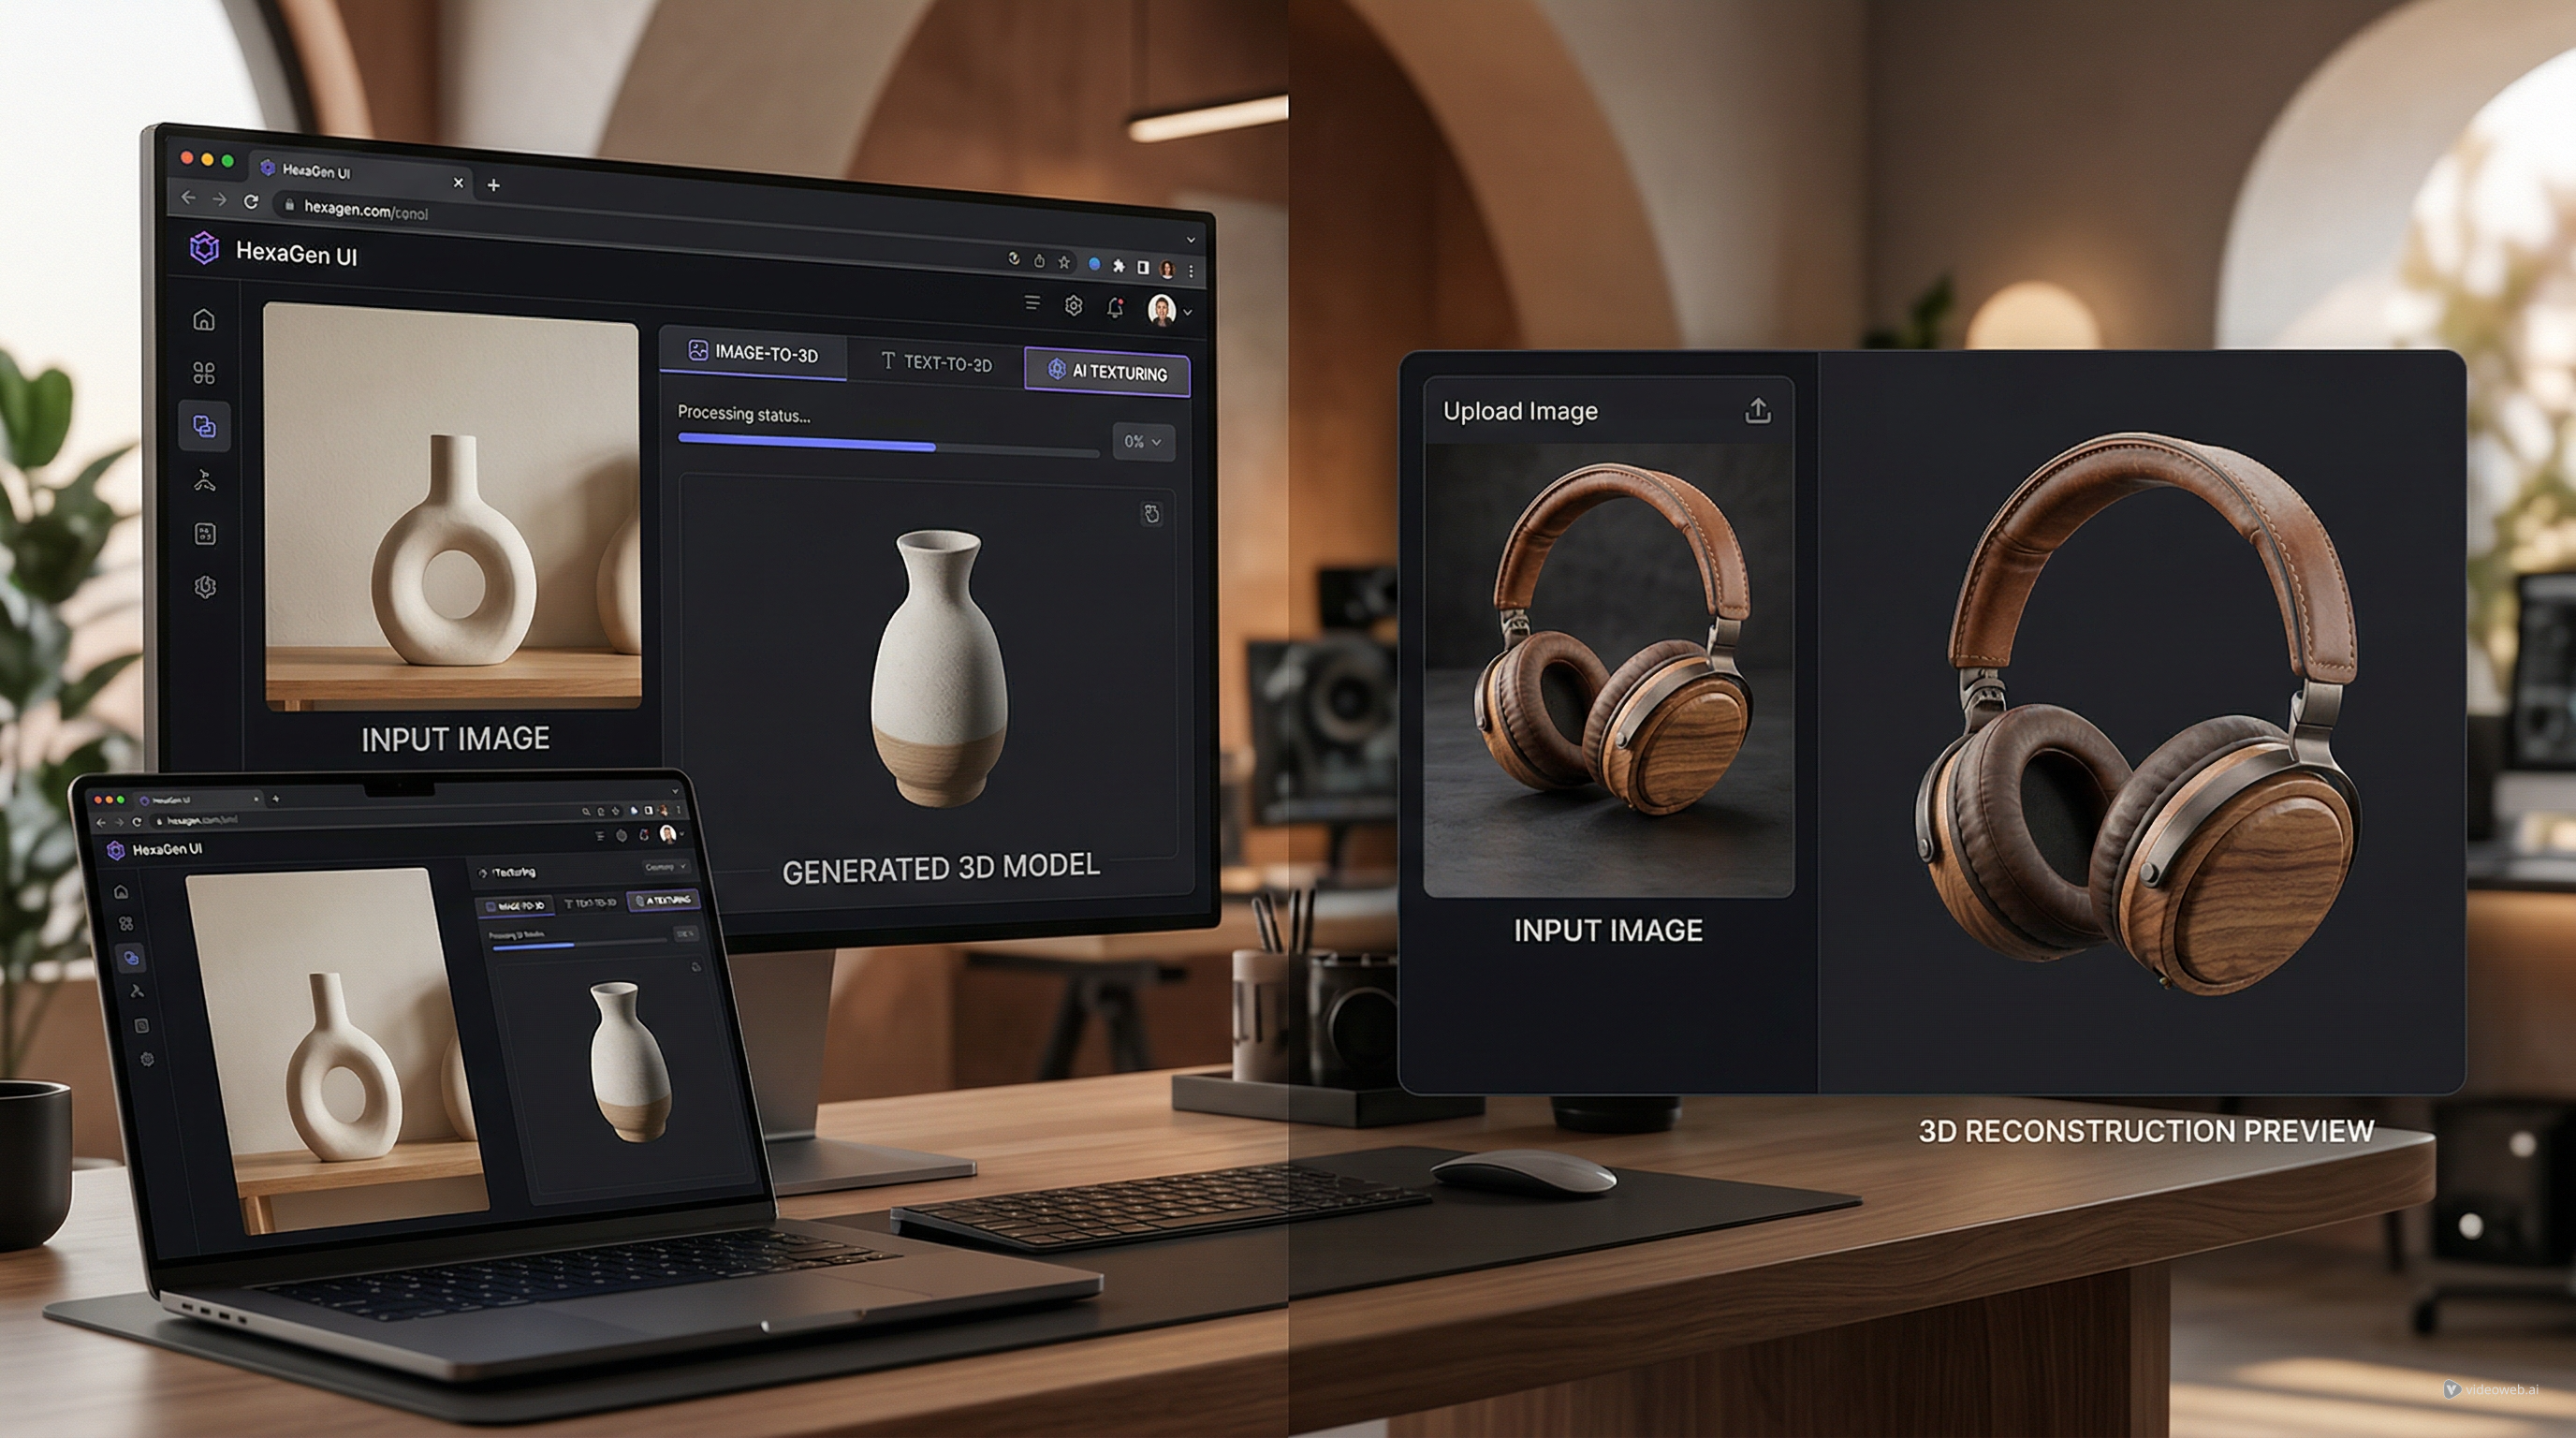
See3D Art is useful when you want a direct browser-based image to 3D AI generator workflow. The practical process is simple: upload an image, generate the model, preview it online, inspect the result, and download the file for cleanup or testing.
That makes See3D Art a good option when you need a simpler alternative to a more model-specific upgrade test. If you want to turn image into 3D model assets quickly, the main advantage is friction: you can test a product photo, prop sketch, toy concept, or furniture image without building a complex toolchain.
Use See3D Art when your goal is early evaluation. It is especially helpful for concept assets, e-commerce previews, AR mockups, and rough product forms. For final production, still inspect topology, texture maps, scale, hidden surfaces, thin parts, and export behavior.

How to Prepare Better Image-to-3D Inputs
The fastest way to improve an AI image to 3D workflow is to improve the source image. A single image gives the model limited information, so clarity matters more than style.
Use this reusable source prompt when generating or photographing a reference image:
Create a clean reference image for image-to-3D generation.
Subject: [object/product/prop/character].
View: [front view / side view / three-quarter view].
Background: plain neutral background.
Lighting: soft studio lighting.
Details: clear silhouette, fully visible object, sharp edges, realistic materials, no heavy shadows, no glare, no cropped parts, no text, no watermark.
Make the object centered and suitable for 3D reconstruction.
This works for a single image to 3D model generator because it reduces ambiguity. Avoid cropped objects, transparent glass with glare, busy backgrounds, extreme shadows, tiny thin parts, and multiple overlapping items unless you are prepared for cleanup.

Text-to-3D Prompt Formula for Better AI 3D Models
Use text to 3D AI model generator prompts when you do not have a source image or when you want to explore a prop, character, product, or environment asset from scratch. The prompt should describe shape and material, not only style.
Copy this formula:
Create a 3D model of [object/character/prop].
Style: [realistic / stylized / low-poly / game-ready concept / product visualization].
Shape details: [silhouette, proportions, key parts].
Material details: [wood, metal, plastic, fabric, glass, ceramic].
Texture details: [roughness, color, wear, patterns].
Use case: [game asset / product mockup / 3D printing draft / AR preview / concept asset].
Output should have clean geometry, readable silhouette, balanced proportions, and editable structure.
For an AI 3D model generator, the strongest prompts are specific about the silhouette, key parts, and intended use. "A fantasy chest" is vague. "A stylized fantasy treasure chest with chunky proportions, metal corner guards, carved wooden panels, and a glowing blue gemstone lock" gives the model a clearer 3D target.

12 Copy-to-Use AI 3D Model Prompts
Use these prompts with a prompt to 3D model generator or adapt them into image prompts before using image-to-3D. Review every output before production use.
1. Leather Travel Backpack
Create a 3D model of a small leather travel backpack with rounded corners, zipper pockets, stitched seams, brass buckles, dark brown worn leather texture, realistic product visualization style, clean geometry, suitable for e-commerce display.
2. Fantasy Treasure Chest
Create a stylized fantasy treasure chest for an indie game, chunky proportions, metal corner guards, carved wooden panels, glowing blue gemstone lock, hand-painted texture style, low-poly but detailed enough for close-up viewing.
3. Cat Coffee Mug
Create a 3D model of a ceramic coffee mug shaped like a cat, rounded body, small ears, curved tail handle, glossy white ceramic material, subtle pink nose detail, clean product mockup style.
4. Sci-Fi Drone
Create a sci-fi drone prop, compact circular body, four small rotors, black carbon fiber shell, glowing cyan light strips, modular mechanical details, game asset style, clean silhouette.
5. Cartoon Mushroom House
Create a cartoon mushroom house, red cap roof with white dots, small round windows, wooden door, mossy base, cozy fantasy style, colorful hand-painted textures, suitable for a mobile game environment.
6. Running Shoe
Create a realistic running shoe model, breathable mesh upper, rubber sole, layered panels, black and neon green colorway, visible stitching, product visualization style, clean edges and accurate proportions.
7. Medieval Market Stall
Create a low-poly medieval market stall, wooden frame, cloth canopy, baskets of fruit, crates, small signs, warm stylized texture, optimized for a game environment.
8. Modern Desk Lamp
Create a 3D model of a modern desk lamp, slim metal arm, circular base, matte black finish, warm glowing light panel, clean industrial design, suitable for interior visualization.
9. Cute Robot Assistant
Create a cute robot assistant character, rounded white body, small screen face, short arms, wheel base, soft blue accent lights, friendly original design, no copyrighted character references.
10. Perfume Bottle
Create a realistic perfume bottle, transparent glass body, gold cap, pale pink liquid, elegant label area without readable text, luxury product render style, clean reflections and simple geometry.
11. Toy Race Car
Create a toy race car model, rounded blue plastic body, clear wheels, simple spoiler, glossy finish, clean toy-like proportions, centered object, suitable for fast image-to-3D testing.
12. Small Sofa
Create a small sofa model, mint green fabric, rounded cushions, visible seams, wooden legs, front three-quarter view, clean product visualization style, suitable for interior layout mockups.
These examples are designed for quick testing across product visualization, game props, interior mockups, and concept assets. They are not promises of game-ready topology or print-ready geometry.

Tripo H3.1 vs Simpler See3D Image-to-3D Workflows
Use a more detailed Tripo H3.1 workflow when detail is the main question. If you are reviewing surface quality, product materials, sculpted forms, or high-detail concept assets, a Tripo HD model H3.1 workflow may be worth testing.
Use a simpler image to 3D model online workflow when speed and accessibility matter more. See3D Art is useful for fast browser-based tests: upload image, generate, preview, and download. It is especially practical for beginners, e-commerce teams, AI asset makers, and teams that need a quick first draft.
The choice is not "advanced model versus basic tool" in every case. If the upgraded model creates more detail but also produces heavy geometry or messy hidden surfaces, the simpler workflow may still be more efficient for concept testing. If the simple workflow loses silhouette accuracy or texture detail, the upgraded path may be worth the extra inspection.

Production Cleanup Checklist for Game, Product, AR, and 3D Printing Use
AI 3D outputs are often best treated as drafts, concept assets, preview models, or starting points. Before using any AI 3D asset generator online output in production, inspect the asset in the software where it will actually be used.
Check these items:
- Topology: Look for messy triangles, holes, non-manifold geometry, and dense areas that need retopology.
- UVs: Check whether UVs are usable or whether texture coordinates need repair.
- Texture maps: Inspect color, roughness, normal, and transparency behavior when available.
- Scale: Confirm real-world size, pivot, orientation, and unit settings.
- Hidden surfaces: Rotate the asset and inspect the underside, back side, and occluded areas.
- Thin parts: Check straps, handles, legs, antennas, leaves, hair, and other fragile shapes.
- Rigging needs: Decide whether the asset can be rigged or whether it needs retopology first.
- Animation readiness: Test deformation if the model will move.
- 3D printing tolerances: Check wall thickness, support needs, intersections, and watertightness.
- Commercial terms: Confirm source image rights, tool terms, and allowed usage.
This cleanup step is not a failure of AI 3D. It is the bridge between a generated draft and a usable asset.

Recommended Articles for Tripo, Meshy, and See3D Workflows
Use these articles when you want more context on Tripo, Meshy, image-to-3D quality, and simpler real-user workflows.
Related articles:
- Tripo 3D AI Review: What It's Great At and Not
- Best AI 3D Model Generator in April 2026? A Review of Meshy 6
- Can AI Image-to-3D Tools Really Create Usable 3D Models From Photos in 2026?
- Image to 3D with See 3D: A Viewer-First, Beginner-Friendly Guide
- Meshy AI vs Tripo 3D AI Review: Which AI 3D Generator Fits Your Workflow?
- Seed 3D Model Generation Guide: A Simpler Alternative for Real Users
- 3D AI Studio Review: Features, Pricing, and How It Handles Image-to-3D Modeling
People also read:
- Image to 3D on HeyDream AI: A Practical Tripo 3D Step-by-Step Guide
- HeyDream AI Image Generator Guide: Best Models for Text-to-Image and Image-to-Image
- How to Use HeyDream AI's Free Background Remover: Upload & It's Done
- HeyDream AI Website Updates: A New Creative Launchpad for Images, Videos, and 3D
- GPT Image 2 Prompt Playbook: Build Posters, Anime Assets, Wallpapers, and 3D Character Concepts Faster
- OpenArt World Review: A Practical Look at This New AI 3D World Generator

FAQ: Tripo H3.1, See3D, and AI 3D Workflows
Is Tripo H3.1 automatically better than simpler image-to-3D tools?
Not automatically. H3.1 may improve detail, but a simpler workflow can still be better when you need a fast draft, easy browser access, or a lightweight concept model.
Can an AI image-to-3D tool create production-ready models?
Sometimes an output may be usable with minimal edits, but many AI 3D models still need topology cleanup, UV review, texture fixes, scale adjustment, and export testing before production.
What should beginners test first?
Beginners should start with simple objects that have clear silhouettes: mugs, toys, lamps, shoes, simple furniture, and product props. Avoid transparent, reflective, thin, or heavily occluded objects at first.
Is text-to-3D better than image-to-3D?
Text-to-3D is better for exploring an idea from scratch. Image-to-3D is better when you already have a product photo, sketch, or reference image that should anchor the model shape.
Can I use AI-generated 3D assets commercially?
Check the tool terms, source image rights, export license, and your project requirements. Also inspect whether the asset is technically usable for the intended commercial context.

Conclusion: Treat Tripo H3.1 as a Detail Upgrade, Then Test the Asset
The Tripo 3D H3.1 upgrade is worth watching if you want more detailed AI-generated 3D assets, but the upgrade only matters if the output helps your actual workflow. Test geometry density, surface detail, prompt following, texture quality, silhouette accuracy, back-side reconstruction, export usability, and cleanup needs.
For fast browser-based testing, See3D Art remains a practical path: upload an image, generate the model, preview it online, and download it for inspection. Whether you use Tripo H3.1, See3D image-to-3D, or text-to-3D, treat AI 3D output as a draft until it passes your topology, UV, scale, export, rigging, animation, 3D printing, AR, and commercial-use checks.