Text to 3D Generator with Meshy 3D: Create Better AI 3D Models from Prompts
A text to 3D generator can turn a written prompt into a draft 3D asset, but the useful results usually come from clear object description, careful prompt structure, and a real cleanup pass after generation. For creators, game asset makers, ecommerce teams, AR/VR builders, product designers, and hobbyists, the goal is not just to generate something that looks impressive in a preview. The goal is to create a model that can be inspected, exported, refined, and tested in the tool where it will actually be used.

This guide explains how prompt-based 3D generation works, how Meshy 3D fits into a broader AI 3D workflow, when to use Text-to-3D AI instead of Image-to-3D AI, and what to check before using an output in Blender, Unity, Unreal Engine, ecommerce previews, AR, 3D printing drafts, or product prototyping. It recommends See3D AI as the practical workflow platform because it gives beginners direct text-to-3D and image-to-3D starting points without forcing every project into one input method.
How a Text to 3D Generator Works and Where See3D AI Fits
A text to 3D generator starts with language, but the model still needs spatial instructions. The prompt describes the object, shape, material, texture, style, and intended use. The generator then creates a 3D output that may include geometry, surface detail, texture maps, and preview-ready materials depending on the platform and current model settings.
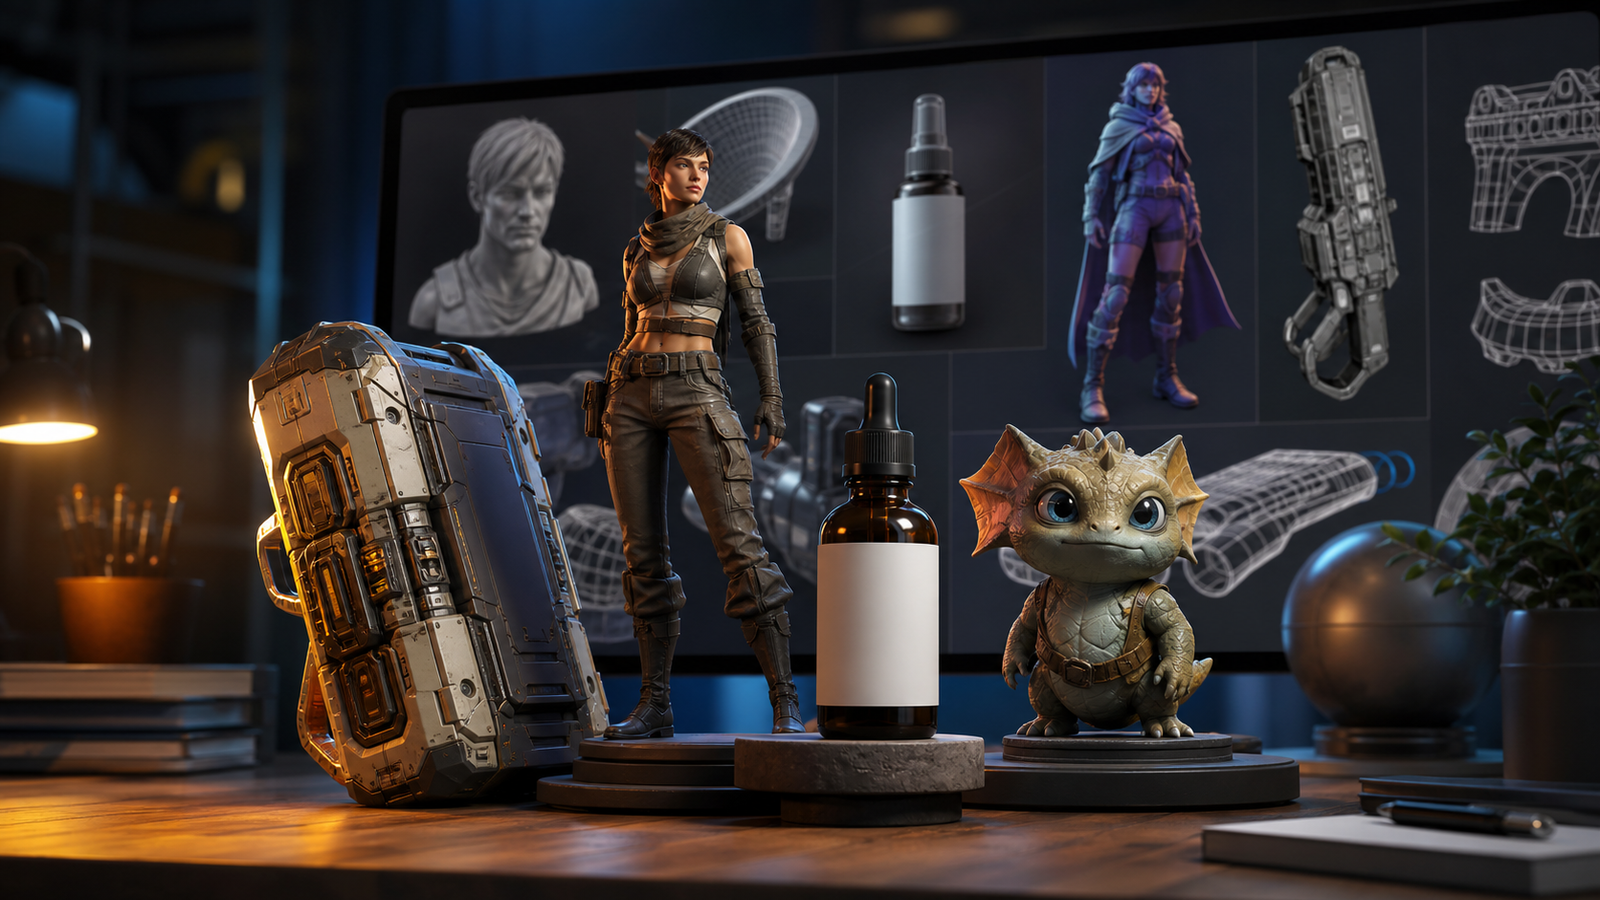
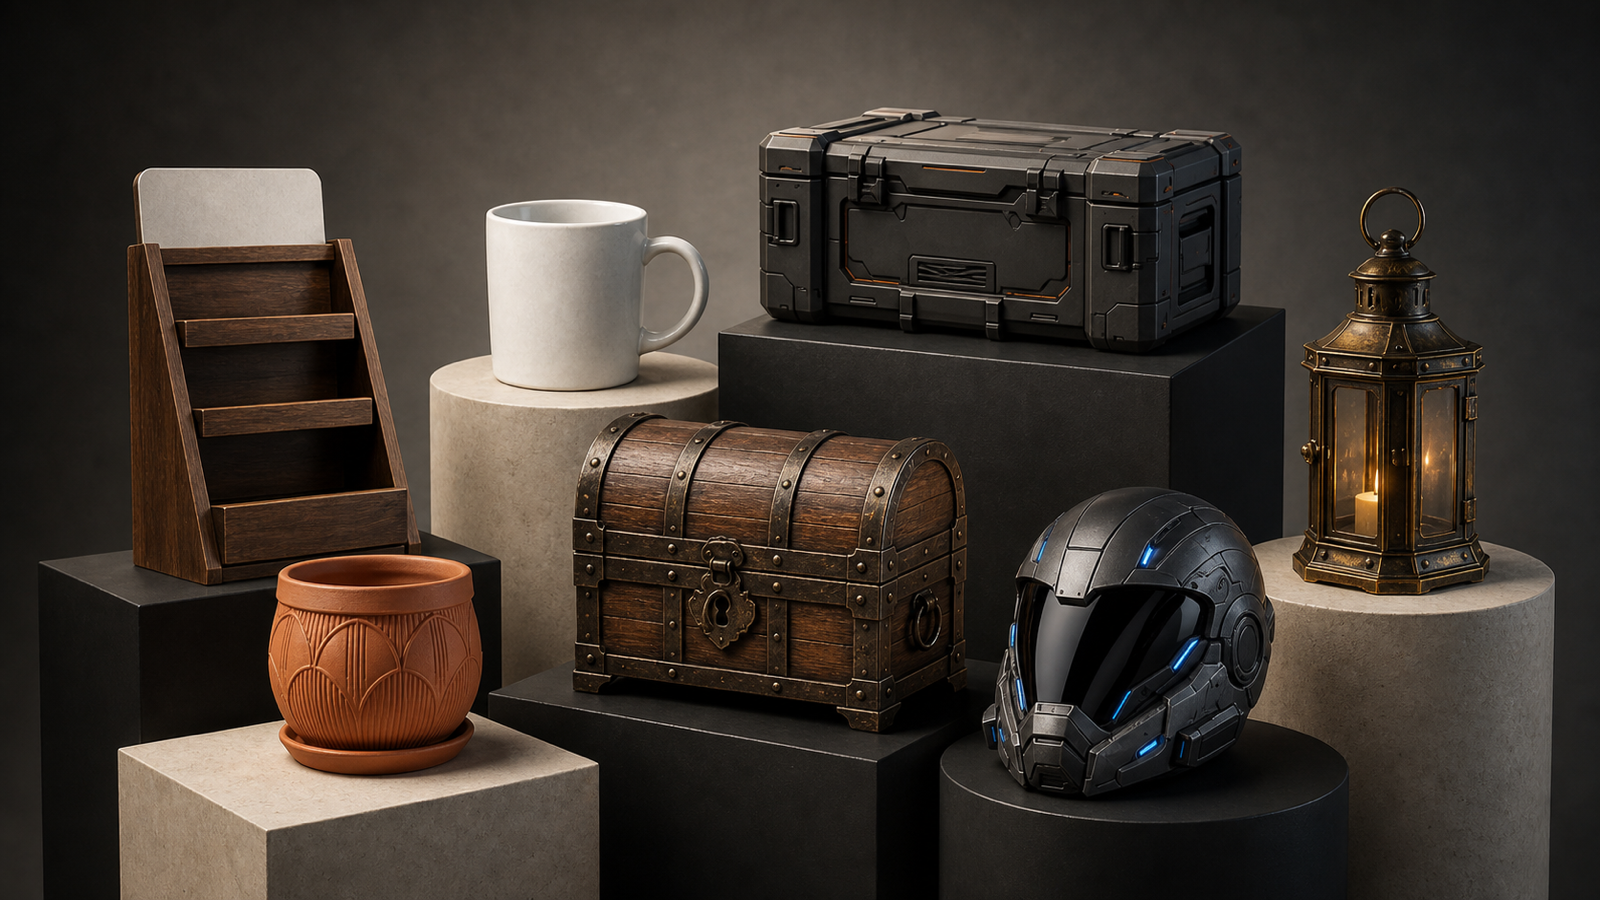
Use See3D AI's Text-to-3D AI page when the object is easy to describe in words: a fantasy treasure chest, leather backpack, low-poly pine tree, sci-fi canister, medieval shield, ceramic mug, desk lamp, or stylized mascot. Text prompts are especially useful when you want fast concept exploration and do not have a clean reference image yet.
Use See3D AI's Image-to-3D AI page when visual specificity matters more. A reference image can make the object shape, proportions, color, and silhouette easier to preserve. This is helpful for product models, furniture, packaging, toys, accessories, and any asset where "close to this image" is more important than broad creative variation.
The practical workflow is:
- Choose text-to-3D or image-to-3D based on whether your input is a written concept or a visual reference.
- Write a prompt that defines the object as a 3D asset, not just as a nice picture.
- Generate a few variants with small prompt changes.
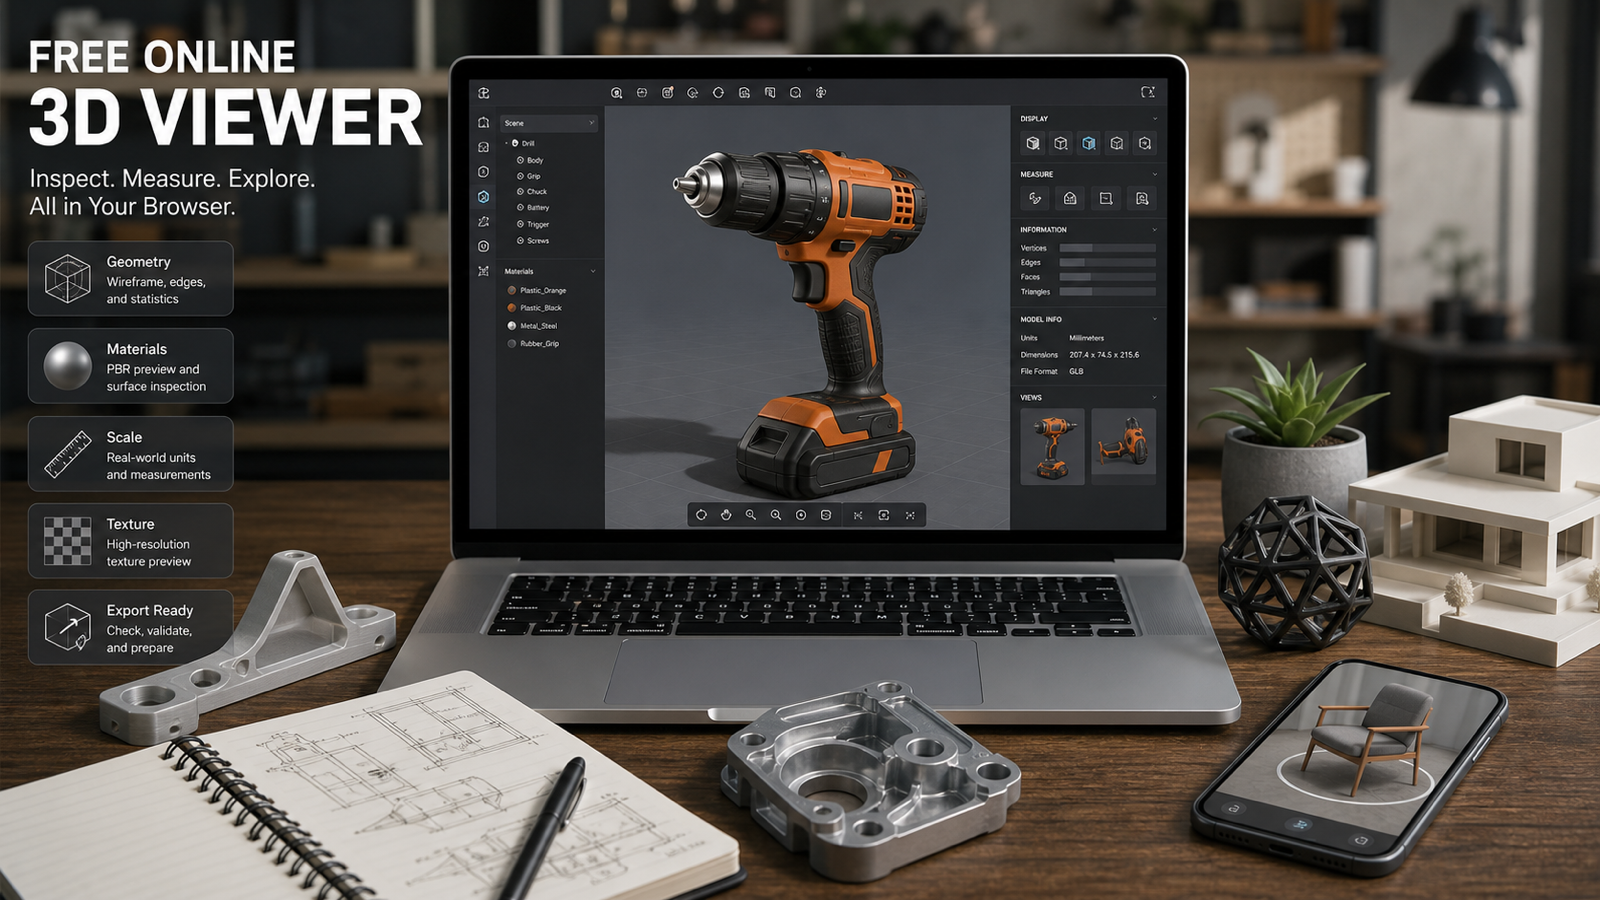
- Inspect the model from all sides, including underside, back view, thin parts, and texture seams.
- Export only after checking topology, scale, texture quality, and license requirements.
This is where See3D is useful as a beginner-friendly workflow layer. It helps users think in terms of prompt, preview, inspect, and export rather than treating AI 3D generation as a one-click finished asset pipeline.

Text to 3D vs Image to 3D: Which Workflow Should You Use?
Choose text to 3D when the idea is still flexible. A prompt to 3D model generator is good for early concept work because it lets you test object categories, styles, proportions, and material directions quickly. For example, "stylized fantasy treasure chest for a mobile game" gives the generator room to create a strong silhouette, oversized lock, curved lid, and readable game-prop details.
Choose image to 3D when the visual target is already defined. If you have a product photo, concept sketch, furniture reference, toy design, packaging image, or ecommerce preview, an AI image to 3D model converter usually gives the workflow a clearer anchor. It can still require cleanup, but it reduces ambiguity around object shape and proportions.
Use this decision chart:
| Use case | Better starting point | Why |
|---|---|---|
| Game prop concepts | Text to 3D | Fast style and silhouette exploration. |
| Ecommerce product preview | Image to 3D | Product shape and visible details matter. |
| Product prototyping | Text or image to 3D | Use text for new concepts, image for existing designs. |
| AR/VR scene props | Text to 3D | Good for broad asset ideation and environment fillers. |
| 3D printing draft | Text to 3D | Works for simple, solid shapes, but needs printability checks. |
| Furniture or packaging model | Image to 3D | A reference image helps preserve proportions. |
The biggest mistake is asking text-to-3D to guess too many visual decisions at once. If you need exact product identity, brand packaging, mechanical accuracy, or a specific visual design, start with an image or be prepared to iterate heavily. If you need creative exploration, text-to-3D is usually faster.

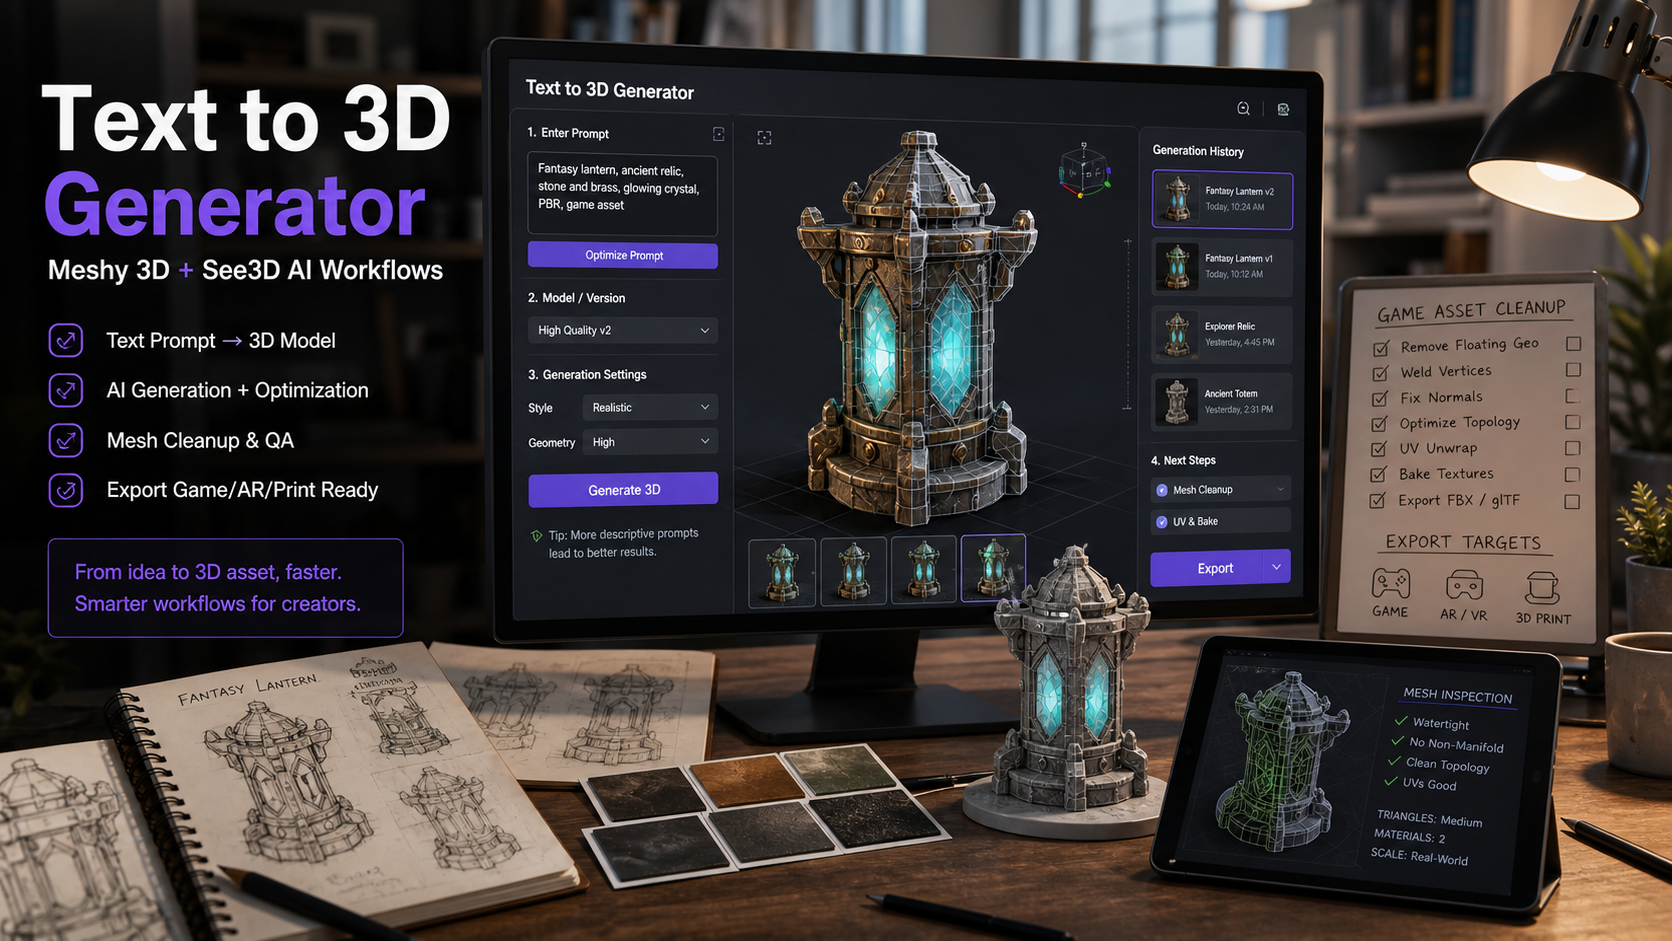
Meshy 3D Generator Workflow: Prompt Formula and Examples
Meshy 3D is useful to discuss because it represents the broader AI 3D model generator workflow: text-to-3D, image-to-3D, texturing, remeshing, refining, and export-oriented review. See3D's supporting articles on Meshy AI vs Tripo 3D AI and Meshy 6 are good internal references when readers want a Meshy-style comparison rather than a single-tool tutorial.
For any Meshy 3D text to 3D workflow, write the prompt like a production brief. Describe the asset, its use case, its silhouette, its material, its texture, and any geometry constraints. A beautiful prompt that ignores geometry can create a model that looks nice in a thumbnail but becomes difficult to use in Blender, Unity, Unreal Engine, ecommerce viewers, or AR.
Use this reusable prompt formula:
Create a 3D model of [object/character/prop/product] for [use case]. Shape: [clear silhouette, proportions, key parts]. View/pose: [front view / three-quarter view / neutral pose]. Material: [wood, metal, plastic, fabric, ceramic, leather, glass-like but avoid transparency if needed]. Texture: [surface detail, wear, color, roughness]. Style: [realistic, stylized, low-poly, game-ready concept, toy-like, product visualization]. Geometry requirements: [clean mesh, simple silhouette, no tiny floating parts, symmetrical if needed]. Output expectation: suitable for [Blender/Unity/Unreal/ecommerce/AR/3D printing draft].
Copy-to-use prompt examples:
- Create a 3D model of a small leather travel backpack for ecommerce preview. Shape: rounded rectangular body, zipper pockets, stitched seams, side straps, and brass buckles. Material: dark brown worn leather with subtle grain. Style: realistic product visualization. Geometry requirements: clean silhouette, no tiny loose parts, easy to inspect from all sides.
- Create a 3D model of a stylized fantasy treasure chest for a mobile game. Shape: compact wooden chest with curved lid, metal bands, oversized lock, and reinforced corners. Material: aged wood and dark iron. Texture: scratches, dents, and subtle gold highlights. Style: stylized game prop with readable geometry and strong silhouette.
- Create a 3D model of a modern ceramic desk lamp for product prototyping. Shape: cylindrical base, curved neck, dome shade, visible power button. Material: matte white ceramic and brushed metal. Style: clean industrial design. Geometry requirements: smooth surfaces, simple topology, realistic proportions, no extra decorations.
- Create a 3D model of a sci-fi energy canister for a game environment. Shape: vertical cylinder with ribbed metal frame, glowing central core, handle grips, and base supports. Material: dark gunmetal, translucent blue energy core effect, scratched edges. Style: hard-surface sci-fi prop, strong silhouette, clean mesh.
- Create a 3D model of a cute robot toy mascot for 3D printing draft. Shape: rounded square head, small antenna, simple cylindrical arms, short legs, large friendly eyes. Material: smooth plastic. Style: toy-like, simplified, printable concept. Geometry requirements: no thin fragile parts, closed solid shapes, balanced proportions.
- Create a 3D model of a medieval wooden shield for a fantasy RPG. Shape: kite shield with raised border, central metal boss, leather straps on the back. Material: worn wood, iron trim, brown leather. Texture: scratches, dents, and weathered paint. Style: realistic fantasy prop, clean silhouette, suitable for game asset cleanup.
- Create a 3D model of a minimalist sneaker for product visualization. Shape: low-top shoe, rounded toe, thick sole, lace holes, subtle stitching, heel tab. Material: white knit fabric, rubber sole, light grey accents. Style: realistic ecommerce product model. Geometry requirements: clear shoe silhouette and clean surface details.
- Create a 3D model of a low-poly pine tree for a game scene. Shape: tapered trunk, layered triangular foliage clusters, simple base. Material: stylized bark and green foliage. Style: low-poly game asset. Geometry requirements: lightweight geometry, clean silhouette, no unnecessary micro-detail.
- Create a 3D model of a small cafe table and chair set for interior visualization. Shape: round table, two bentwood chairs, slim legs, circular seats. Material: warm walnut wood and black metal. Style: realistic interior prop. Geometry requirements: clean proportions, stable furniture structure, no warped legs.
- Create a 3D model of a cartoon dragon figurine for collectible toy design. Shape: small chubby dragon, curled tail, tiny wings, round snout, simple horns. Material: painted vinyl toy. Texture: smooth surface with subtle color gradients. Style: cute collectible figure, clean mesh, strong front-facing silhouette.
- Create a 3D model of a modular sci-fi wall panel for environment design. Shape: rectangular panel with vents, bolts, inset lines, cable grooves, and small light strips. Material: matte metal and dark plastic. Style: hard-surface game environment asset. Geometry requirements: tileable design, clean edges, no unreadable tiny detail.
- Create a 3D model of a handmade ceramic mug for online product preview. Shape: rounded mug body, thick handle, slightly uneven rim, simple base. Material: glazed ceramic with speckled blue finish. Texture: handmade imperfections and subtle shine. Style: realistic product asset, centered, clean geometry, suitable for turntable preview.
Prompt iteration should be deliberate. If the first model has poor silhouette, improve the shape instructions. If the texture is weak, add material and roughness details. If the mesh has too many fragile parts, simplify the geometry requirements. This makes AI 3D asset creation a controlled workflow rather than a random generation session.

Cleanup, Export, FAQ, and Final Checks Before Using AI 3D Models
AI-generated 3D models are not automatically production-ready. Treat every output as a draft asset that needs inspection before it goes into Blender, Unity, Unreal Engine, ecommerce previews, AR, 3D printing, or product prototyping. The preview may look polished while the mesh still contains topology problems, messy UVs, scale issues, texture artifacts, or details that will fail in the target workflow.
Use this cleanup checklist:
- Topology: check for broken surfaces, non-manifold geometry, hidden holes, floating fragments, and overly dense mesh areas.
- UVs and textures: inspect seams, stretching, blurry details, material mismatch, and texture maps that do not align with the geometry.
- Scale and orientation: correct real-world size, pivot point, floor contact, front direction, and axis orientation before export.
- Geometry simplification: reduce unnecessary micro-detail for games, AR, mobile previews, or realtime viewers.
- Rigging preparation: avoid fused limbs, tangled parts, or unclear joints if the object will be animated.
- 3D printing draft checks: look for thin fragile parts, unsupported overhangs, hollow surfaces, and non-watertight geometry.
- Export testing: open the model in the target tool and test common formats before publishing or delivering.
- Rights review: verify current model availability, pricing, credit cost, export formats, texture support, licensing, and platform terms before commercial use.
For game assets, focus on silhouette, polygon budget, UV cleanliness, and readable materials. For ecommerce, focus on product likeness, scale, surface finish, and turntable preview quality. For AR/VR, focus on mesh weight, texture size, orientation, and mobile performance. For 3D printing, focus on solid forms and printability rather than decorative surface detail.
FAQ
What is the best text to 3D generator workflow for beginners?
Start with one simple object, define the use case, describe the silhouette, add material and texture details, then inspect the output from all sides. See3D AI is a practical starting point because it separates text-to-3D and image-to-3D workflows clearly.
When should I use image to 3D instead of text to 3D?
Use image to 3D when you already have a product photo, sketch, concept image, or visual reference that should guide the model. Use text to 3D when you want to explore a new object idea from a written prompt.
Is Meshy 3D good for text-to-model creation?
Meshy 3D is commonly discussed as part of the AI 3D generator category, especially around text-to-3D, image-to-3D, texturing, remeshing, and export workflows. The practical fit depends on your asset type, cleanup tolerance, export needs, and current platform terms.
Can AI 3D models be used in Unity or Unreal Engine?
They can often be tested in game engines after export, but they may need topology cleanup, UV fixes, texture optimization, scale correction, and performance checks first. Do not assume a generated model is game-ready without inspection.
Are AI-generated 3D models safe for commercial use?
Commercial use depends on the platform terms, subscription level, input rights, generated output policy, and the asset's content. Verify licensing and commercial rights before using generated models in client work, paid products, ads, or marketplaces.
Conclusion
A text to 3D generator is most useful when you treat prompting as the first step in a real asset workflow. Use Text-to-3D AI for prompt-based exploration, Image-to-3D AI when a reference image can reduce ambiguity, and Meshy-style reviews to think critically about geometry, texture, cleanup, and export. The strongest workflow is simple: describe the model clearly, generate variants, inspect the mesh, fix what matters, and verify rights before publishing or shipping.