Free Image to Image AI for Better 3D References
Develop an existing photo or concept into a clearer 2D reference for 3D modeling. Describe the background, lighting or material changes you want, and check that the result keeps the important shapes.
Image to Image Examples: Compare Your Reference and Revision
Compare each source with its generated variation. For a 3D design reference, look for a readable silhouette and useful surface detail, then check for unintended changes to the subject.
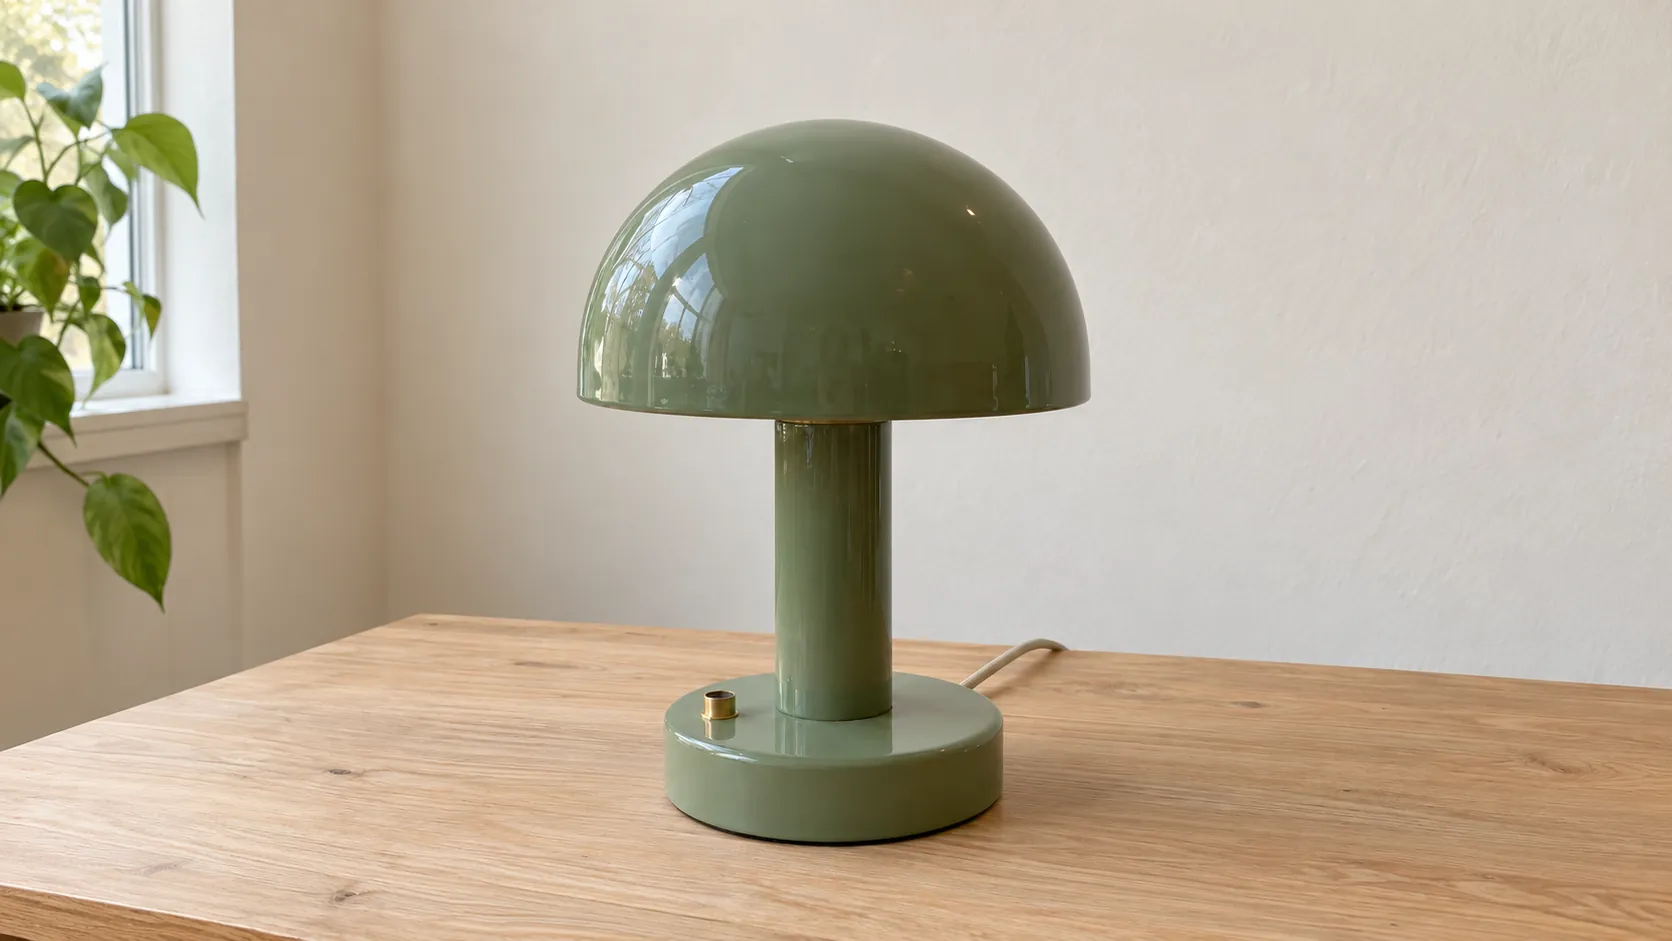
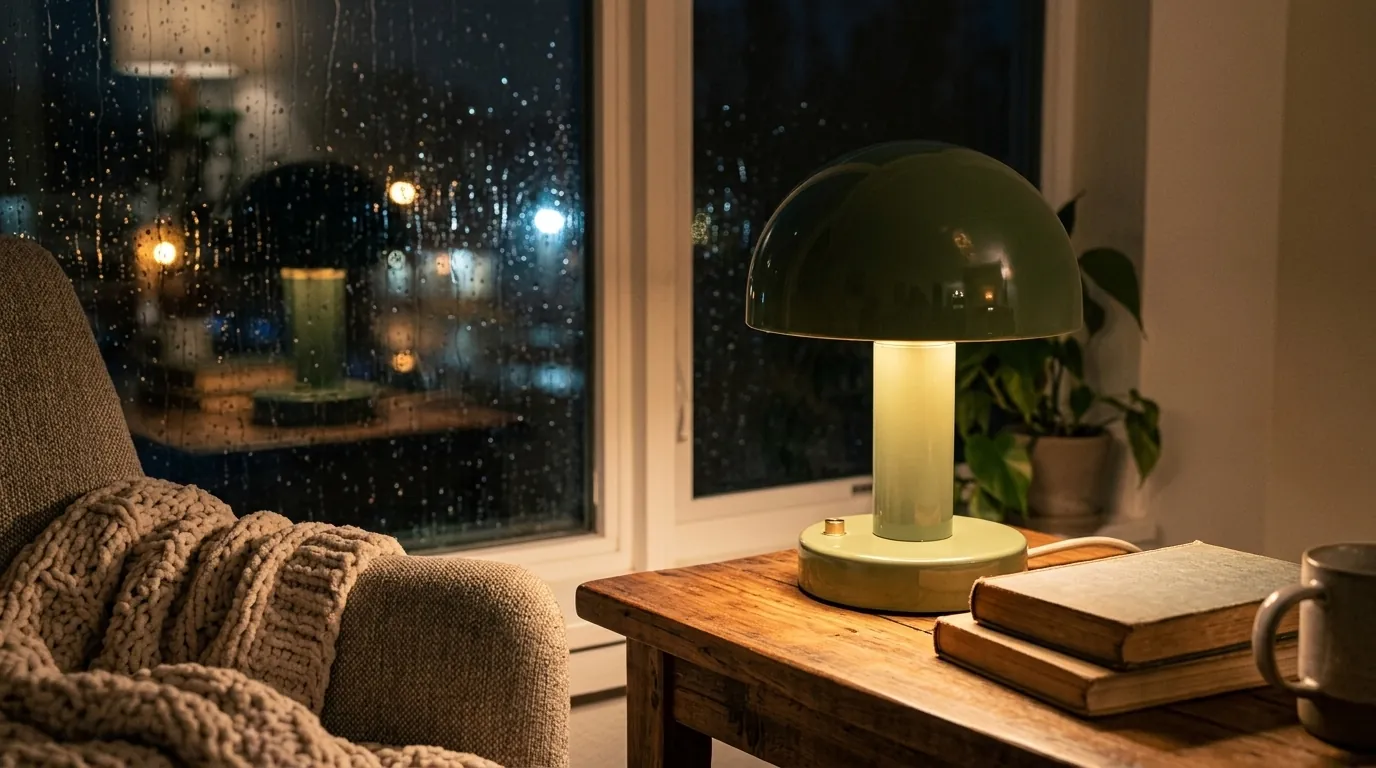
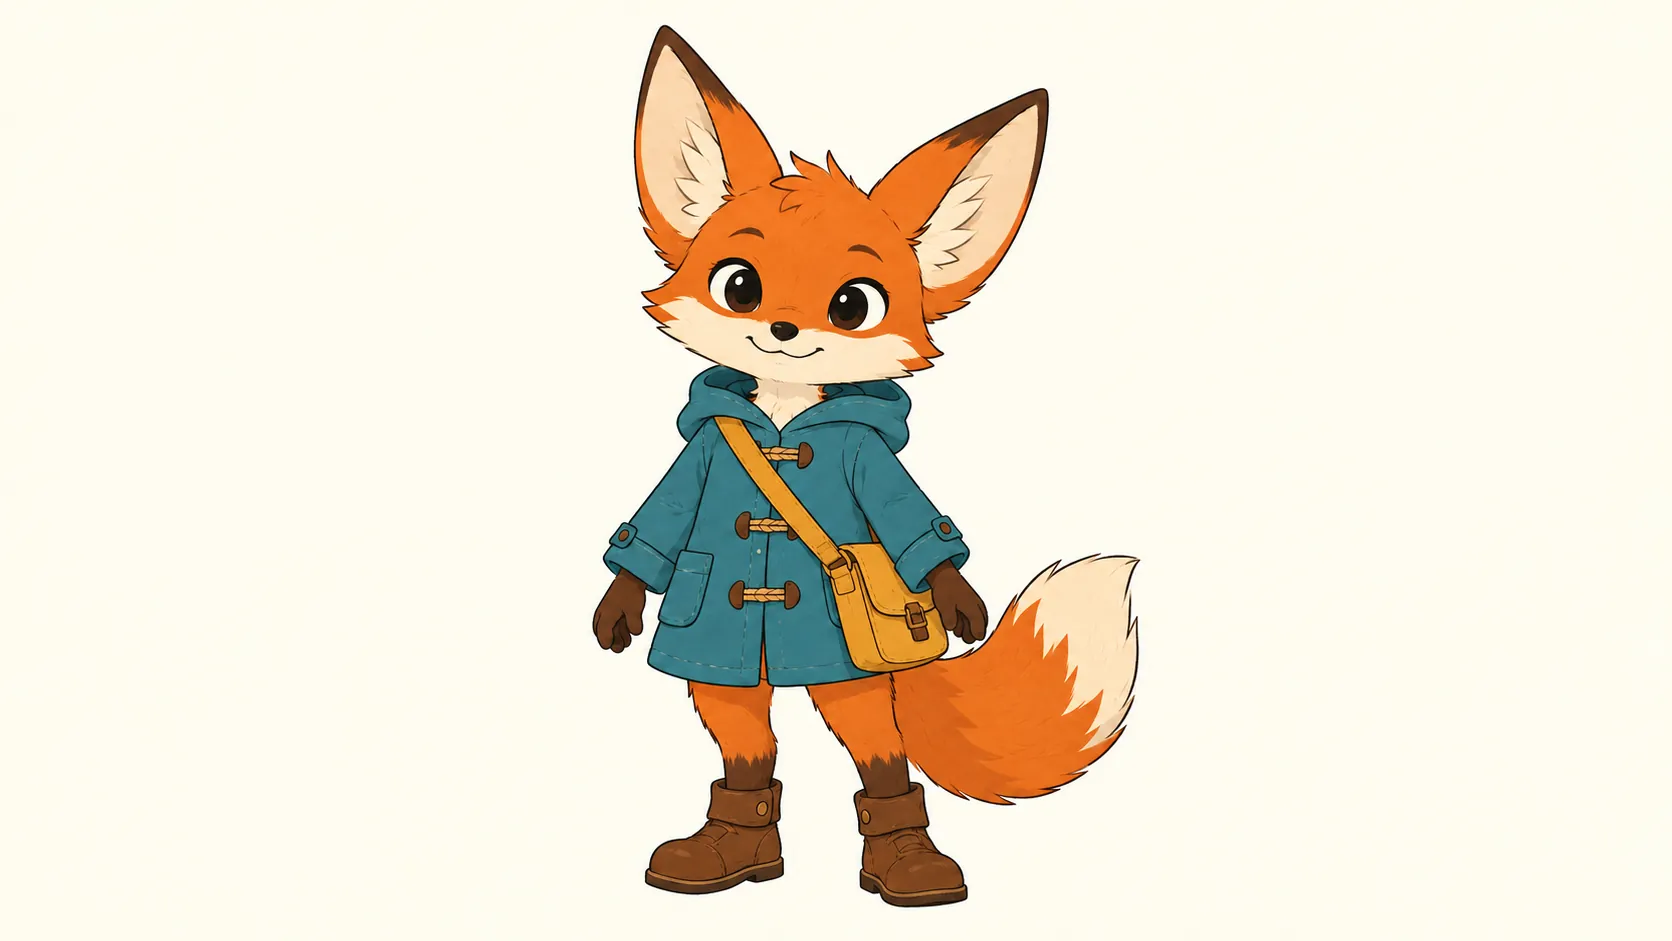
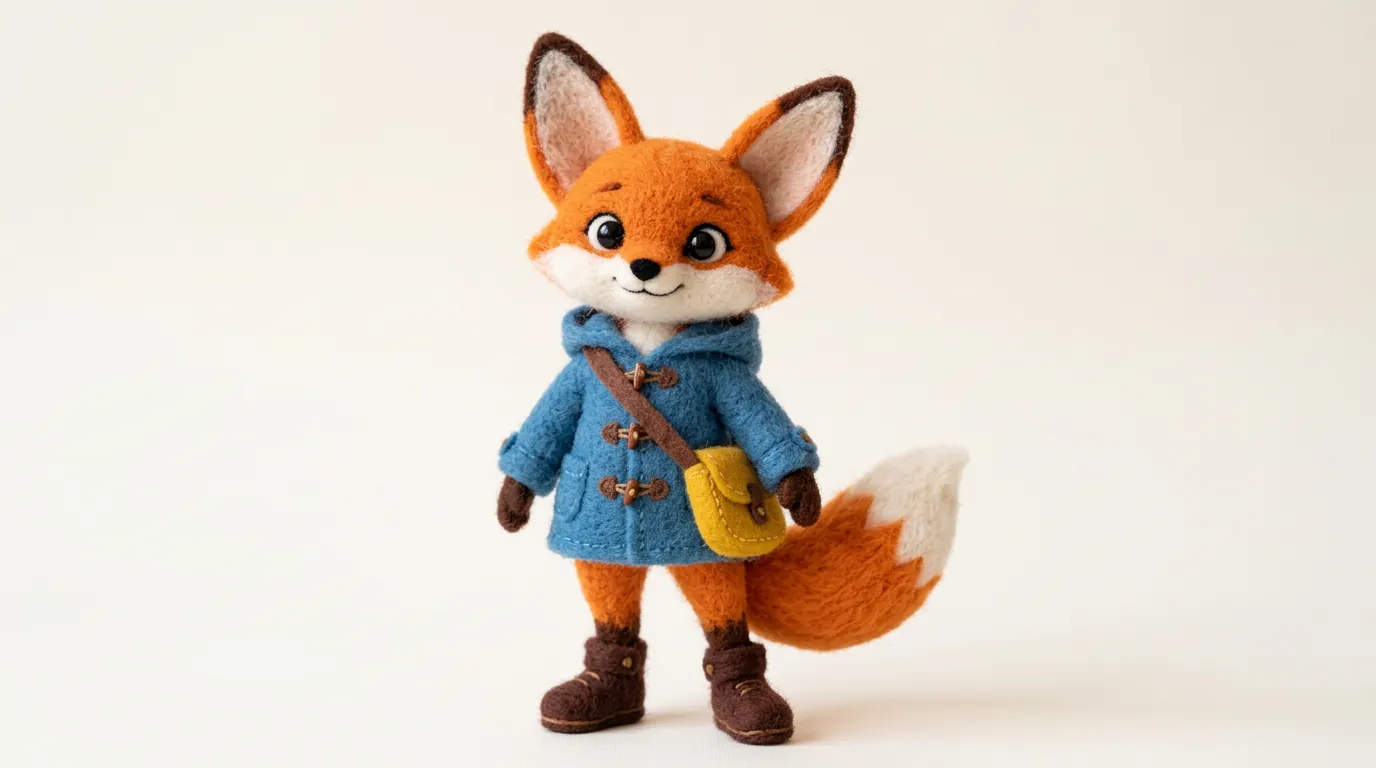
Image to Image Tools for 3D Reference Refinement
Use a source image and focused instructions to improve how your design is presented. Choose a model that supports image inputs.
Build on an existing photo or concept
Upload a reference with a clearly visible subject. Use it to guide the next image instead of describing the entire design from scratch.
Request a simpler background and lighting
Ask for a plain backdrop or softer, more even light to make the object easier to inspect. Review the result for changed edges, shapes or details.
Explore material and color variations
Request a different finish or palette while naming the shape to retain. Use the variations to plan the appearance of a future 3D model.
Choose supported output settings
Review the resolution, aspect ratio and output count options shown by the model. Check the credit cost and keep the complete subject in frame.
Improve Reference Images Before 3D Modeling
Use visual revisions to clarify a design before developing its geometry. Compare each result with the source to decide whether it is a better modeling reference.
Keep an existing design as the starting point
Use your photo, sketch or concept to communicate the original form. Concentrate the prompt on the change you want to explore.
Make the subject easier to read
Request less distracting surroundings and clearer light. Inspect the output to see whether the silhouette and surface details are more useful for modeling.
Review materials before building them in 3D
Compare wood, metal, fabric or painted finishes on your concept. Treat these images as appearance studies when setting up materials in a 3D editor.
Select a reference for Image to 3D
Choose a revision with a complete subject and plausible proportions. Use the saved image on Image to 3D, then review the generated model independently.
Image to Image References for 3D Design Projects
Refine product photos, character concepts, game props and furniture images to support your next 3D model.
Product photos for 3D reference
Request a simple backdrop and even lighting around a product. Compare the result with the source to check dimensions, edges and distinctive parts.
Character concepts for modeling
Explore outfit colors or material treatments on an existing character image. Check that anatomy, pose and accessories remain suitable for your modeling brief.
Game prop design variations
Use a prop concept to explore wear, color or surface finishes. Keep its outline in the prompt and choose the clearest version for further 3D design.
Furniture material studies
Try different upholstery, wood tones or metal finishes on a furniture reference. Review the shape before using the image to guide a 3D interior asset.
How to Refine a 3D Reference with Image to Image
Sign in, choose an image-input model and upload a reference. Describe what to change and keep, check the credit cost, then compare the generated image with your source.
1. Upload a clear photo, sketch or concept image
2. Describe the revision and review settings and credits
3. Compare the result and select your 3D reference
Image to Image FAQ for 3D Reference Images
Learn how to choose a source, request useful revisions and check a reference before 3D modeling.


