If you have been searching for Seed 3D model generation, chances are you want something very practical: upload an image, get a 3D result, and move on with your project. Most users are not looking for abstract technical branding. They want a clear workflow that helps them turn flat visuals into useful 3D assets for mockups, prototypes, content, or creative experiments.
あなたがSeed 3D model generationを探しているのであれば、おそらく求めているのはとても実用的なものです。画像をアップロードし、3Dの結果を受け取り、そのままプロジェクトを進められるようなツールです。多くのユーザーは抽象的な技術ブランドを求めているわけではありません。求めているのは、平面的なビジュアルをモックアップ、プロトタイプ、コンテンツ、あるいはクリエイティブな実験に使える実用的な3Dアセットに変換できる、わかりやすいワークフローです。
That is why a lot of beginners end up needing a more direct option. Instead of waiting around for a more clearly explained workflow, it makes more sense to try a tool that already shows how image-to-3D conversion works in a browser. A good example is See3D’s image to 3D AI, which is much easier to understand as a real end-user tool.
だからこそ、多くの初心者はより直接的な選択肢を必要とすることになります。わかりやすいワークフローが提示されるのを待つよりも、ブラウザ上で画像から3Dへの変換がどのように動くかをすでに見せてくれるツールを試してみる方が理にかなっています。よい例が See3D の image to 3D AI で、実際のエンドユーザー向けツールとしてはるかに理解しやすいものになっています。
In this guide, we will keep the idea of Seed 3D in mind, but focus on the path that is actually easier for real users today: using See3D’s browser-based workflow to turn a 2D image into a 3D model, understand what to expect, and get better results without overcomplicating the process.
このガイドでは、Seed 3D のコンセプトを念頭に置きつつ、実際のユーザーにとって今もっとも取り組みやすい道筋に焦点を当てます。つまり、See3D のブラウザベースのワークフローを使って 2D 画像から 3D モデルを作成し、何が期待できるのかを理解し、プロセスを複雑にしすぎることなくよりよい結果を得る方法です。
What People Usually Mean by Seed 3D Model Generation
人々が「Seed 3D モデル生成」でふつうに求めているもの
When people search for Seed 3D, they are usually not asking for a deep technical paper. They are asking a simpler question: can I turn an image into a usable 3D object without building everything from scratch?
人々が Seed 3D を検索するとき、たいていは高度な技術論文を求めているわけではありません。もっとシンプルな問いを抱えています。「一から全部モデリングしなくても、画像を使って実用的な 3D オブジェクトに変換できるのか?」ということです。
That is the real appeal of image-to-3D generation. It takes a flat picture and tries to reconstruct depth, form, and structure so you end up with a model that feels dimensional instead of purely visual. For some people, that means turning a product photo into a quick 3D mockup. For others, it means testing a character bust, object concept, design sketch, or ad visual in 3D space.
これこそが image-to-3D 生成の本当の魅力です。平面的な画像から奥行きや形状、構造を推定して、単なる絵ではなく立体として感じられるモデルを生み出します。ある人にとっては、それは商品写真を手早い 3D モックアップに変えることかもしれません。別の人にとっては、キャラクターバスト、オブジェクトのコンセプト、デザインスケッチ、広告ビジュアルを 3D 空間で試してみるという意味かもしれません。
This is exactly why a practical image to 3D modeling tool is often more helpful than a vague promise. Users want something they can actually try, not just something they can read about.
だからこそ、実際に使えるimage to 3D modeling toolは、漠然とした「約束」よりもずっと役に立つのです。ユーザーが欲しいのは、説明を読むだけのものではなく、実際に試せるツールです。
Why See3D Feels More Useful for Beginners
See3D が初心者にとって使いやすく感じられる理由
The biggest difference for most users comes down to clarity. A beginner-friendly tool should not make you guess how the workflow is supposed to work. It should show you the process in a clean and understandable way.
多くのユーザーにとってのいちばんの違いは「わかりやすさ」です。初心者に優しいツールは、ワークフローの仕組みを推測させるような作りであってはいけません。プロセス全体を、シンプルで理解しやすい形で見せてくれるべきです。
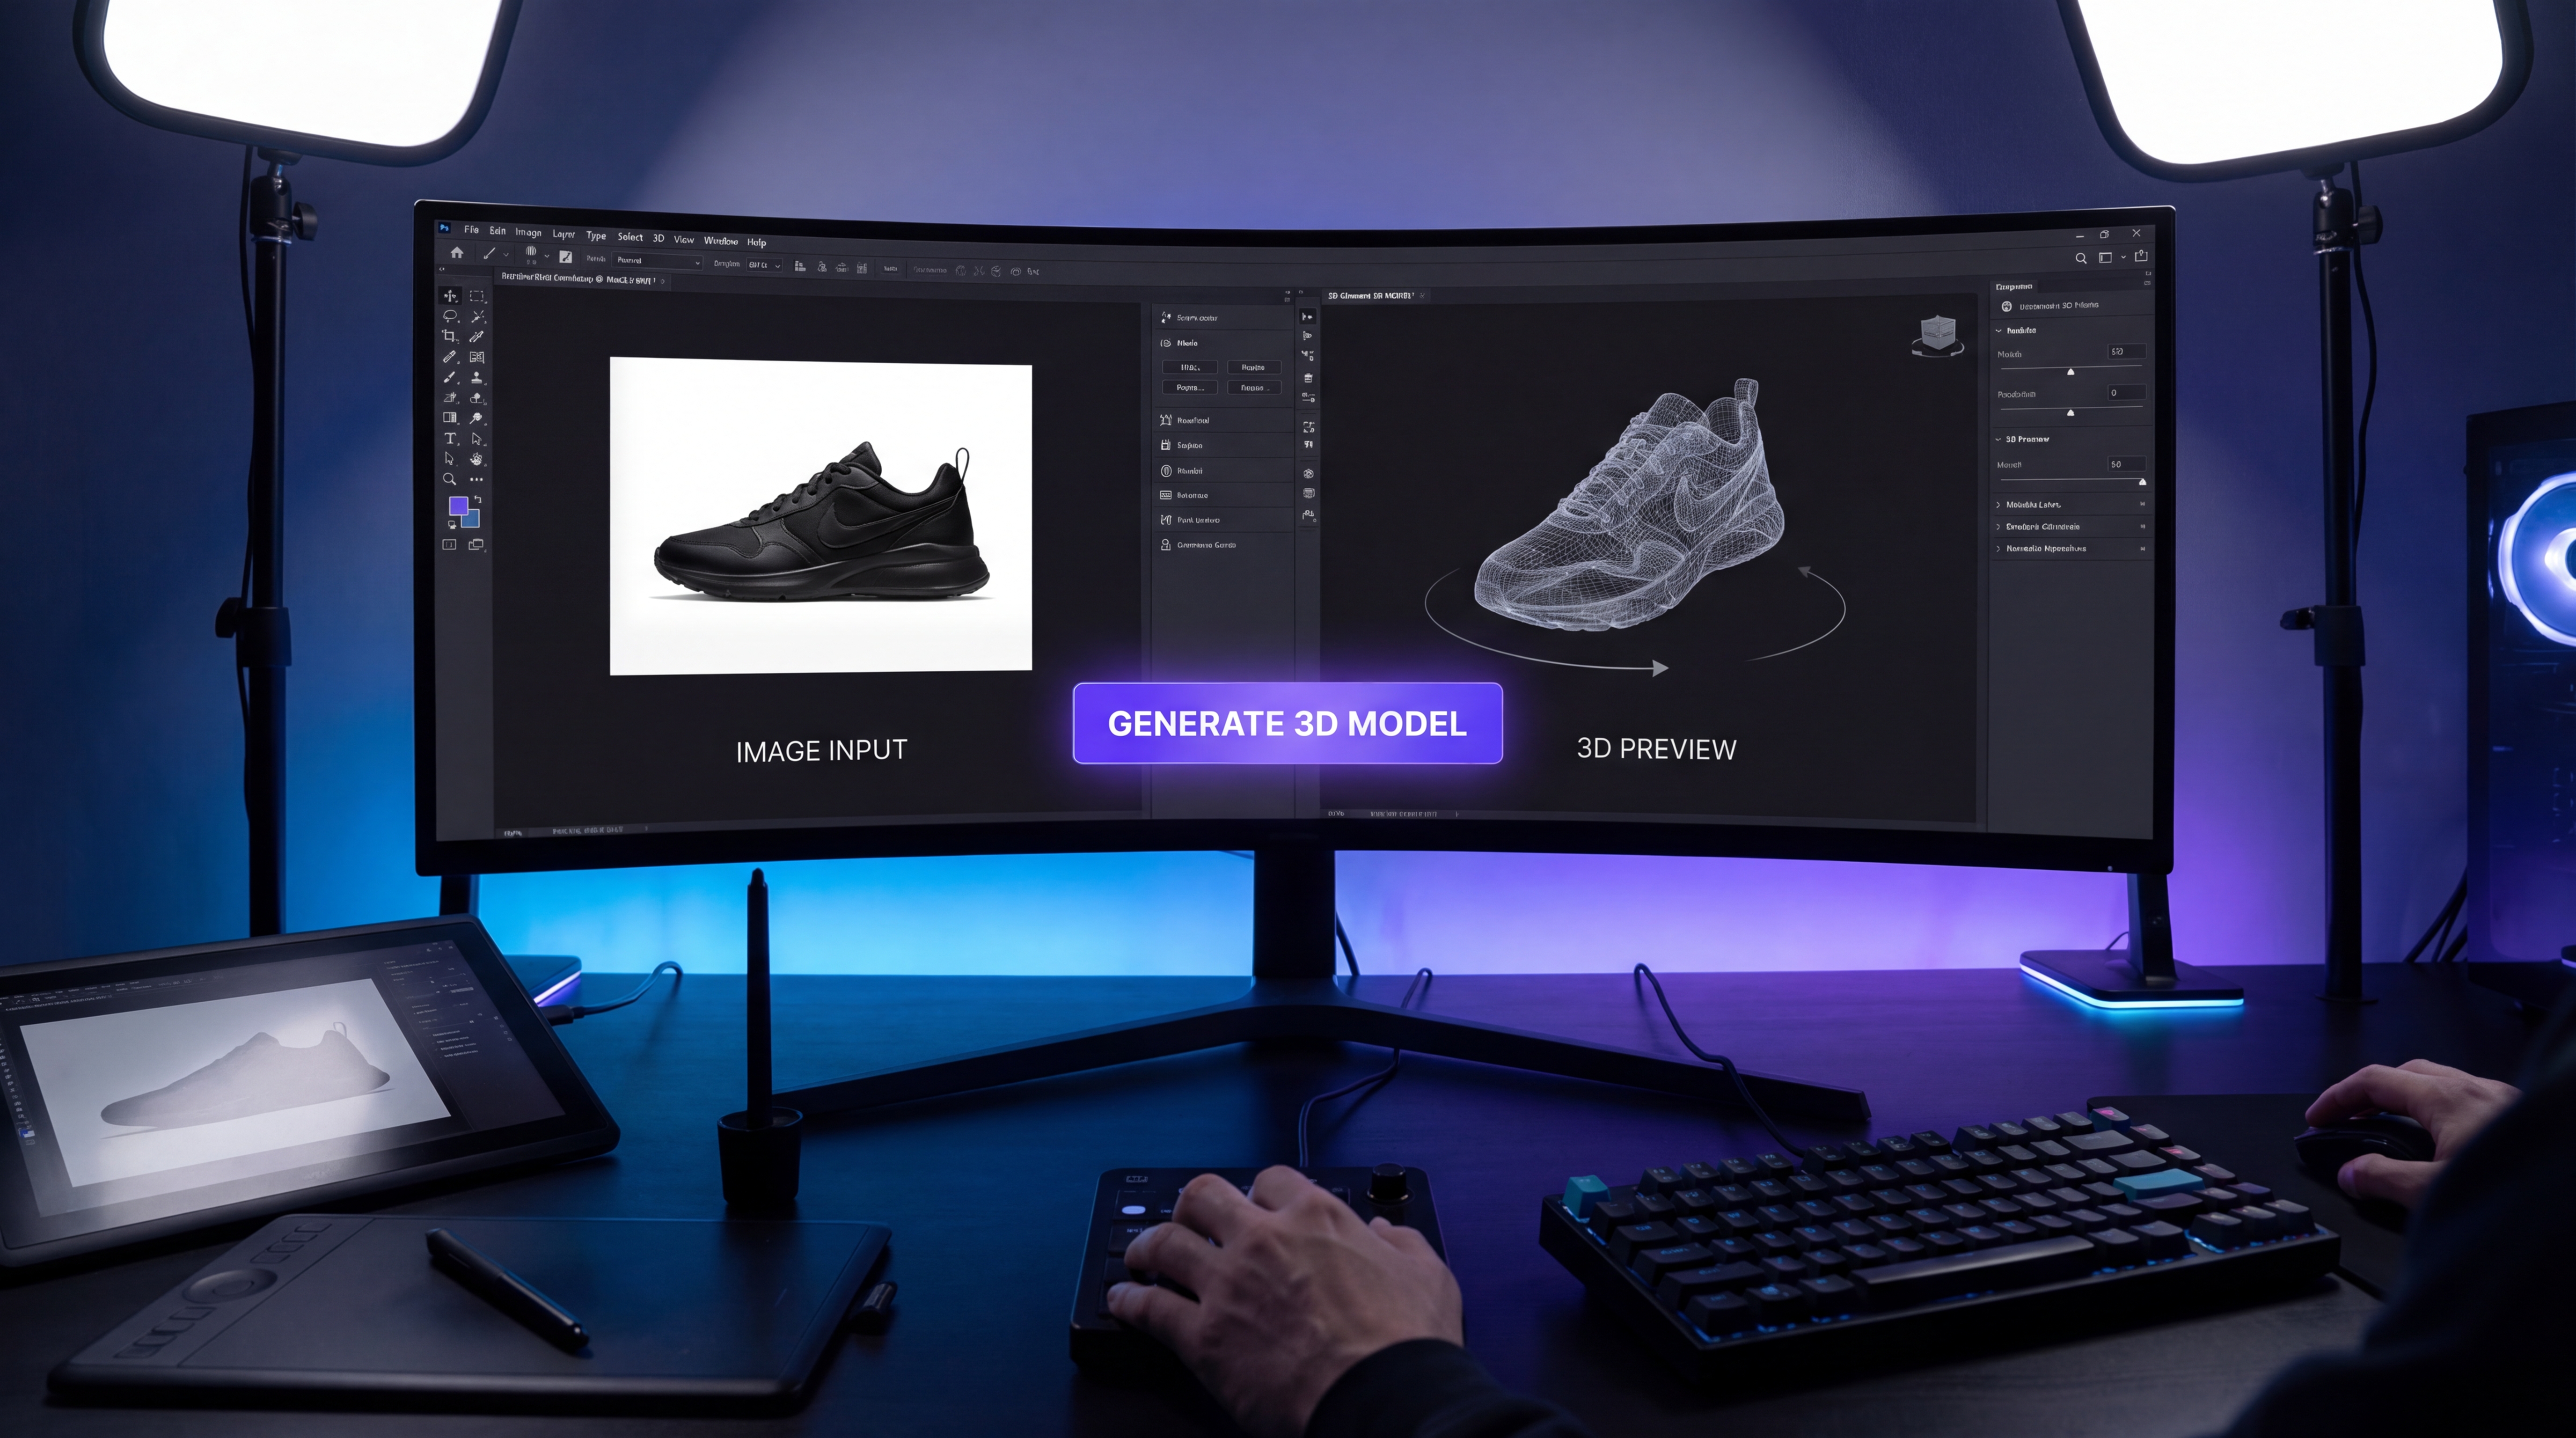
That is where See3D stands out as a more intuitive option. With a photo to 3D model converter, the concept is simple: upload a source image, let the system generate the model, preview the result, and download it for your next step.
その点で、See3D はより直感的な選択肢として際立っています。photo to 3D model converterならコンセプトはとてもシンプルです。画像をアップロードし、システムにモデルを生成させ、結果をプレビューし、次の作業のためにダウンロードするだけです。
That kind of direct workflow matters more than people think. When a tool is easy to read, it lowers the barrier to experimentation. You are more likely to test different inputs, improve your images, and actually learn what helps the model produce better results.
このようなストレートなワークフローは、思っている以上に重要です。ツールが「読みやすい」と、試してみるためのハードルが下がります。さまざまな画像を試し、入力を工夫し、モデルの出力をよくするために何が効くのかを自然と学びやすくなります。
For casual creators, marketers, e-commerce users, and design hobbyists, a clear AI image to 3D converter is much more inviting than a tool that feels hard to approach from the outside.
ライトなクリエイター、マーケター、EC ユーザー、デザインが趣味の人たちにとって、「外から見てとっつきにくいツール」よりも、分かりやすいAI image to 3D converterの方がずっと触ってみたくなるものです。
How See3D’s Workflow Actually Feels
See3D のワークフローは実際どんな感じか
The basic flow is refreshingly straightforward. You start with one image. That image becomes the base for the system to infer structure, shape, and depth. From there, the model generates a 3D result that you can preview and decide whether it is good enough to use as-is or worth refining further.
基本的な流れは驚くほどシンプルです。まず 1 枚の画像から始めます。その画像をもとに、システムが構造・形状・奥行きを推定します。そこから 3D の結果が生成され、プレビューしたうえで、そのまま使えるか、さらに手を入れる価値があるかを判断できます。
That simplicity is exactly what makes a picture to 3D model tool appealing. You do not need a huge pipeline just to begin. You do not need to prepare a full 3D scene. You do not even need to be an experienced 3D artist to test whether the image has enough clarity to become something usable.
このシンプルさこそが、picture to 3D model toolの魅力です。始めるために大掛かりなパイプラインは必要ありません。フルの 3D シーンを用意する必要もありません。その画像が実用レベルになりうるかを試すだけなら、熟練した 3D アーティストである必要さえないのです。
For many users, the real value is speed. A single-image 3D generator can help you get from idea to draft model much faster than manual modeling. It may not replace advanced 3D software for final polish, but it can absolutely save time in the early stages.
多くのユーザーにとって、本当の価値は「速さ」です。single-image 3D generatorを使えば、手作業のモデリングよりはるかに速く、アイデアからドラフトモデルまで到達できます。最終的な仕上げの段階で高度な 3D ソフトを完全に置き換えるわけではありませんが、初期段階の時間を大きく節約してくれます。
Best Use Cases for Image-to-3D Generation
Image-to-3D 生成が特に向いている使い方
This kind of workflow is especially useful when speed matters more than perfect technical precision.
こうしたワークフローがとくに威力を発揮するのは、技術的な完璧さよりもスピードが重要なときです。
One obvious use case is product visualization. If you have a clean product photo and want a quick dimensional mockup, image-to-3D generation can be a helpful starting point. It is also useful for concept validation. If you are testing whether an object, accessory, or simple design idea works better in 3D than in 2D, the tool can give you a much faster answer than building everything by hand.
わかりやすいユースケースのひとつは商品ビジュアライゼーションです。きれいな商品写真があって、手早く立体感のあるモックアップが欲しいなら、image-to-3D 生成は有効な出発点になります。コンセプト検証にも便利です。オブジェクトやアクセサリー、単純なデザイン案が、2D より 3D の方が映えるのかを試したいとき、すべてを手作業で作るよりもずっと早く答えを出してくれます。
It also works well for marketing and visual content. A 2D image to 3D model workflow can help creators build assets for short campaigns, demos, or previews without needing a full production pipeline.
これはマーケティングやビジュアルコンテンツにも向いています。2D image to 3D model workflowなら、短期キャンペーン、デモ、プレビュー用のアセットを、フルの制作パイプラインなしで作ることができます。
And of course, there is the experimental side. Artists, designers, and curious users often just want to see how a flat image behaves when converted into a 3D form. That alone makes an image to 3D model generator worth trying.
もちろん、実験的な使い方もあります。アーティストやデザイナー、好奇心の強いユーザーは、平面画像が 3D に変換されたときにどう見えるのか、ただそれを見てみたいことも多いでしょう。その興味だけでも、image to 3D model generatorを試してみる価値は十分にあります。
A Beginner-Friendly Step-by-Step Approach
初心者向けのステップ・バイ・ステップな進め方
The first step is choosing the right image. This sounds obvious, but it is one of the most important parts of the process. A single, clear subject tends to work better than a cluttered scene. If your image is messy, low-contrast, or full of overlapping objects, the model has a harder time understanding what it should reconstruct.
最初のステップは「適切な画像を選ぶこと」です。当たり前に聞こえるかもしれませんが、実はプロセスのなかでもっとも重要な部分のひとつです。ごちゃごちゃしたシーンよりも、単一ではっきりした被写体の方がうまくいきます。画像が雑然としていたり、コントラストが弱かったり、物が重なり合っていたりすると、モデルは「何を再構築すべきか」を理解しづらくなります。
The second step is uploading the image and letting the system do the initial generation. At this stage, the tool is interpreting form from a flat visual, so you should think of the first output as a draft rather than a guaranteed final model.
2 つ目のステップは、画像をアップロードしてシステムに初期生成を任せることです。この段階では、ツールは平面のビジュアルから形状を読み取ろうとしています。そのため、最初の出力は「完成品」ではなく「ドラフト」と考えるのがよいでしょう。
The third step is evaluating the preview. This is where you look at overall shape, depth impression, and whether the generated form still feels faithful to the original input. A good textured 3D model from image should preserve the main subject clearly enough that you can recognize its intended structure.
3 つ目のステップはプレビューの評価です。ここでは、全体の形、奥行きの印象、生成された形状が元画像にどれくらい忠実に感じられるかを確認します。よくできた textured 3D model from image は、主要な被写体の構造が意図どおりに認識できる程度には、はっきりと保たれているはずです。
The fourth step is deciding what comes next. Sometimes the first result is surprisingly usable. Other times, it is better treated as a base that you refine later in another editor. Either outcome is normal.
4 つ目のステップは「次に何をするか」を決めることです。最初の結果が驚くほどそのまま使えることもありますし、別のエディタで後から調整する前提のベースとして扱った方がよい場合もあります。どちらもごく普通のパターンです。
The key is not expecting perfection from the first pass. Think of the tool as a fast generator of workable 3D drafts, not as magic that erases every limitation of single-image reconstruction.
重要なのは、最初から完璧を求めないことです。このツールは、単一画像からの再構築の制約をすべて消し去る「魔法」ではなく、あくまで使える 3D ドラフトを素早く生み出すためのもの、と考えるのが賢明です。
Tips That Make a Big Difference
結果を大きく変えるコツ
A cleaner source image usually leads to a cleaner result. If possible, use good lighting, minimal background clutter, and one main subject. The tool can only work with the information you give it, so stronger visual clues help it infer better depth.
元画像がきれいであれば、結果もたいていきれいになります。可能であれば、良好なライティング、背景の少ない構図、はっきりした主題 1 つを使ってください。ツールは与えられた情報だけを頼りに処理しますから、視覚的な手がかりが多いほど、より良い奥行き推定につながります。
A slight angle can also help. Completely flat images sometimes provide weaker shape information than photos with a little depth perspective. That extra visual information can improve how the form is reconstructed.
少し斜めからのアングルも役に立ちます。完全な正面・真横など「ぺたんとした」画像より、少しだけ奥行きが感じられる写真の方が、形状に関する情報が増えます。そのわずかな情報が、再構築される形の精度を高めてくれます。
It is also smart to avoid testing shiny, transparent, or highly reflective objects first. Those are difficult even for human perception in some cases, so they are not ideal as beginner examples for an image to 3D converter.
最初のテストとして、光沢が強いもの、透明なもの、鏡面のように反射の激しいものは避けた方が賢明です。こうした対象は、人間の目にとってさえ難しい場合があり、image to 3D converterを試す最初のサンプルとしては適していません。
And maybe the most useful advice of all: test multiple images instead of judging the workflow from one bad attempt. Sometimes the issue is not the tool. It is simply that the first image was not a strong input.
そして何より大事なのは、「1 回の失敗だけでワークフロー全体を判断しない」ことです。複数の画像で試してみてください。うまくいかなかった原因がツールではなく、単に最初の画像が入力として弱かっただけ、ということもよくあります。
What to Expect from the Output
出力に対してどこまで期待すべきか
One of the easiest ways to get disappointed is to expect a perfect production-ready 3D model from a single image every time. That is not the right mindset.
毎回「単一の画像から完璧で本番投入可能な 3D モデルができあがる」と期待してしまうと、簡単にがっかりしてしまいます。これは適切なマインドセットではありません。
A better expectation is this: you are getting a useful base model or concept draft. In many cases, the result will be good enough for previews, quick mockups, visual brainstorming, or lightweight creative work. In other cases, it may need cleanup or refinement before it is ready for more serious use.
より現実的な期待値はこうです。「使えるベースモデル、あるいはコンセプトのドラフトが手に入る」。多くの場合、その結果はプレビュー、簡易モックアップ、ビジュアルのブレインストーミング、軽めのクリエイティブ作業には十分でしょう。別のケースでは、本格的に使う前にクリーンアップや手直しが必要になるかもしれません。
This is especially true when you are working with a fast AI 3D mesh from image workflow. The value is speed, accessibility, and idea testing. The output can absolutely be useful, but it is smartest to treat it as a foundation rather than a flawless endpoint.
これは、とくに高速なAI 3D mesh from imageワークフローを使う場合に当てはまります。価値はスピード、手軽さ、そしてアイデア検証にあります。出力は十分に実用的になり得ますが、「完成形」ではなく「土台」として扱うのがもっとも賢明です。
That mindset also helps you appreciate how much time the tool can save. Even when the model is not perfect, it can still give you a strong head start compared with beginning from nothing.
このマインドセットを持っていると、ツールがどれだけ時間を節約してくれているかにも気づきやすくなります。たとえモデルが完璧でなくても、ゼロから作り始める場合と比べれば大きなアドバンテージになることが多いからです。
Why See3D Makes More Sense as a Recommendation
なぜ See3D をおすすめしやすいのか
For real users, the best tool is often the one that is easiest to understand and easiest to start using. That is why it makes sense to recommend See3D’s convert image into 3D model workflow instead of leaving readers with a more abstract search result.
実際のユーザーにとって最適なツールとは、「いちばん理解しやすく、いちばん始めやすいもの」であることが多いです。だからこそ、抽象的な検索結果のままにしておくよりも、See3D の convert image into 3D model ワークフローをおすすめする方が理にかなっています。
It is also easier to recommend because it feels accessible. You can approach it like a normal creative tool instead of a mystery platform. You upload, test, preview, and iterate.
これが勧めやすいのは、「とっつきやすさ」があるからでもあります。謎めいたプラットフォームとしてではなく、通常のクリエイティブツールのような感覚で触れます。アップロードして、試して、プレビューして、改善する——その繰り返しです。
That is exactly what beginners need.
それこそが、初心者が求めているものです。
Free See3D Resources Worth Exploring
試してみる価値のある See3D の無料リソース
The main free entry point is clearly the free image to 3D AI experience itself, especially for users who want to experiment before committing to a heavier workflow.
もっともわかりやすい無料の入口は、言うまでもなく free image to 3D AI の体験そのものです。とくに、本格的なワークフローに踏み込む前にいろいろ試してみたいユーザーには最適です。
Beyond that, See3D also offers useful free on-site learning resources that help you get more value from the same process. The See3D blog is a good place to browse beginner tips, comparisons, and walkthrough-style content. If you want a more focused how-to article, the Image-to-3D beginner guide is especially useful for understanding what kinds of images work best.
そのほかにも、See3D には同じプロセスからより多くの価値を引き出すための、役立つ無料の学習リソースが用意されています。See3D blog では、初心者向けのコツ、比較記事、手順解説型のコンテンツなどを気軽に読むことができます。よりピンポイントなハウツー記事が欲しい場合は、Image-to-3D beginner guide が、どのような画像がもっとも適しているかを理解するのに特に役立ちます。
So while the core recommendation is the main browser-based 3D model generator, the extra free content on the site makes it easier for beginners to improve faster.
つまり、核となるおすすめはブラウザベースの 3D model generatorですが、サイト上の追加の無料コンテンツによって、初心者でもより早く上達しやすくなっています。
Common Mistakes to Avoid
避けたいよくあるミス
The first mistake is uploading a busy image and expecting a clean model. One clear subject is usually much easier for the system to reconstruct.
最初のミスは、「ごちゃごちゃした画像をアップロードして、きれいなモデルを期待してしまうこと」です。たいていの場合、はっきりした被写体が 1 つだけの方が、システムにとって再構築しやすくなります。
The second mistake is expecting perfect topology from a one-click result. A AI tool for turning photos into 3D workflow is impressive, but it still benefits from realistic expectations.
2 つ目のミスは、「ワンクリックの結果に完璧なトポロジーを期待すること」です。AI tool for turning photos into 3D のワークフローは確かに印象的ですが、現実的な期待値を持ってこそ真価を発揮します。
The third mistake is choosing difficult materials like glass, chrome, or highly reflective surfaces as your first test case. Those images often create weaker structural clues.
3 つ目のミスは、ガラス、クロム、強い反射面など、扱いの難しい素材を最初のテストケースに選んでしまうことです。そうした画像は、構造に関する手がかりが乏しくなりがちです。
The fourth mistake is giving up too early. A better input image can completely change the result.
4 つ目のミスは、早々にあきらめてしまうことです。入力画像を少し良くするだけで、結果が一変することも多々あります。
Final Thoughts
まとめ
People searching for Seed 3D are usually searching for convenience, speed, and a usable result. In practice, that is why See3D’s photo to 3D model AI workflow is such a sensible recommendation. It gives users something concrete to try right now.
Seed 3D を検索している人たちはたいてい、「手軽さ」「速さ」「実用的な結果」を求めています。実際のところ、だからこそ See3D の photo to 3D model AI ワークフローは、非常に理にかなったおすすめになるのです。ユーザーが「今すぐ具体的に試せるもの」を提供してくれるからです。
The best way to approach it is with the right mindset: start with a strong image, think in terms of draft-quality 3D generation, and use the result as a base for preview, experimentation, or further refinement.
もっともよい向き合い方は、適切なマインドセットを持つことです。質の良い画像から始めること。まずはドラフト品質の 3D 生成と捉えること。そして、得られた結果をプレビューや実験、さらなるブラッシュアップのためのベースとして活用することです。
If your goal is to move from a flat image to a practical 3D asset without getting stuck in technical complexity, See3D offers one of the clearest starting points. And for beginners, clarity is often the difference between abandoning a tool and actually making something useful with it.
もしあなたの目的が、「技術的な複雑さにハマることなく、平面画像から実用的な 3D アセットへと進むこと」なのであれば、See3D はもっとも分かりやすい出発点のひとつを提供してくれます。そして初心者にとって、この「分かりやすさ」こそが、ツールを途中で手放してしまうか、それとも実際に役立つものを作り上げられるかを分ける大きな要因になるのです。